In summer, in hot weather – even scorching – we are not very hungry. But, we still want to eat a little and without too much effort nor without too much cooking.
The house, unless you have air conditioning, is already hot and you don’t want to cook so as not to add heat and humidity. Cooking on the BBQ is a great alternative as well as the ideas below.
So if you’re hot and need meal ideas … this list is for you!
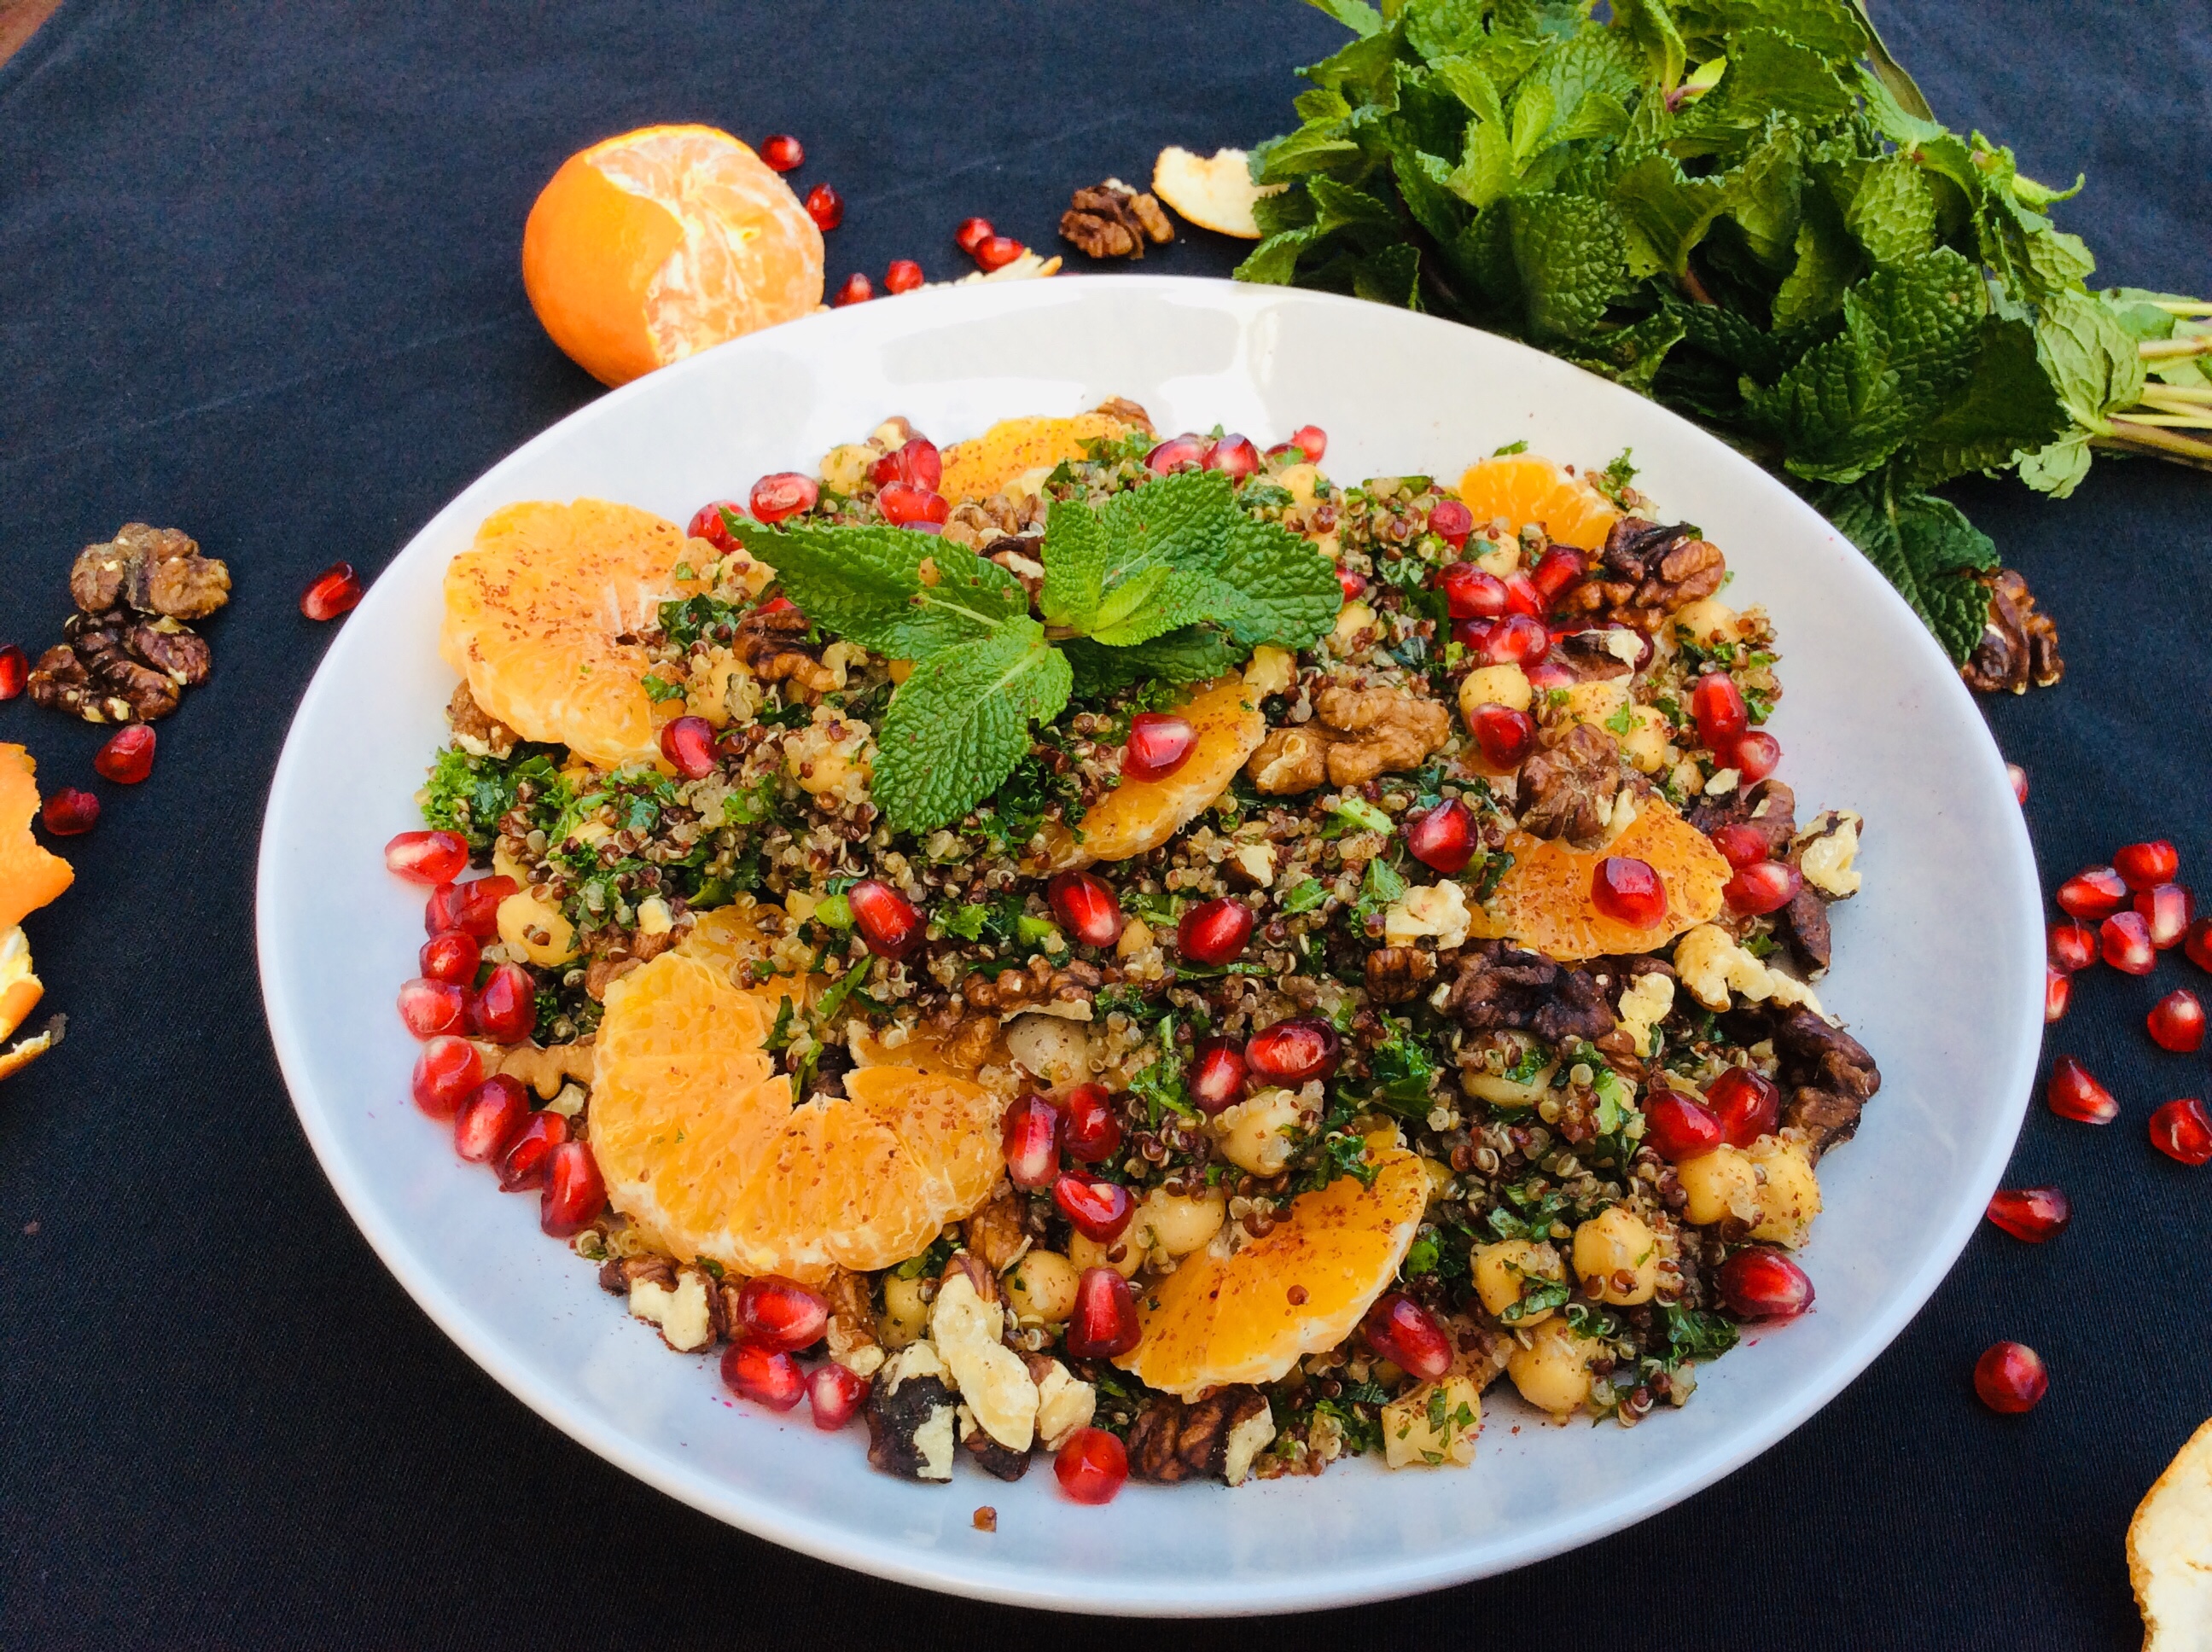
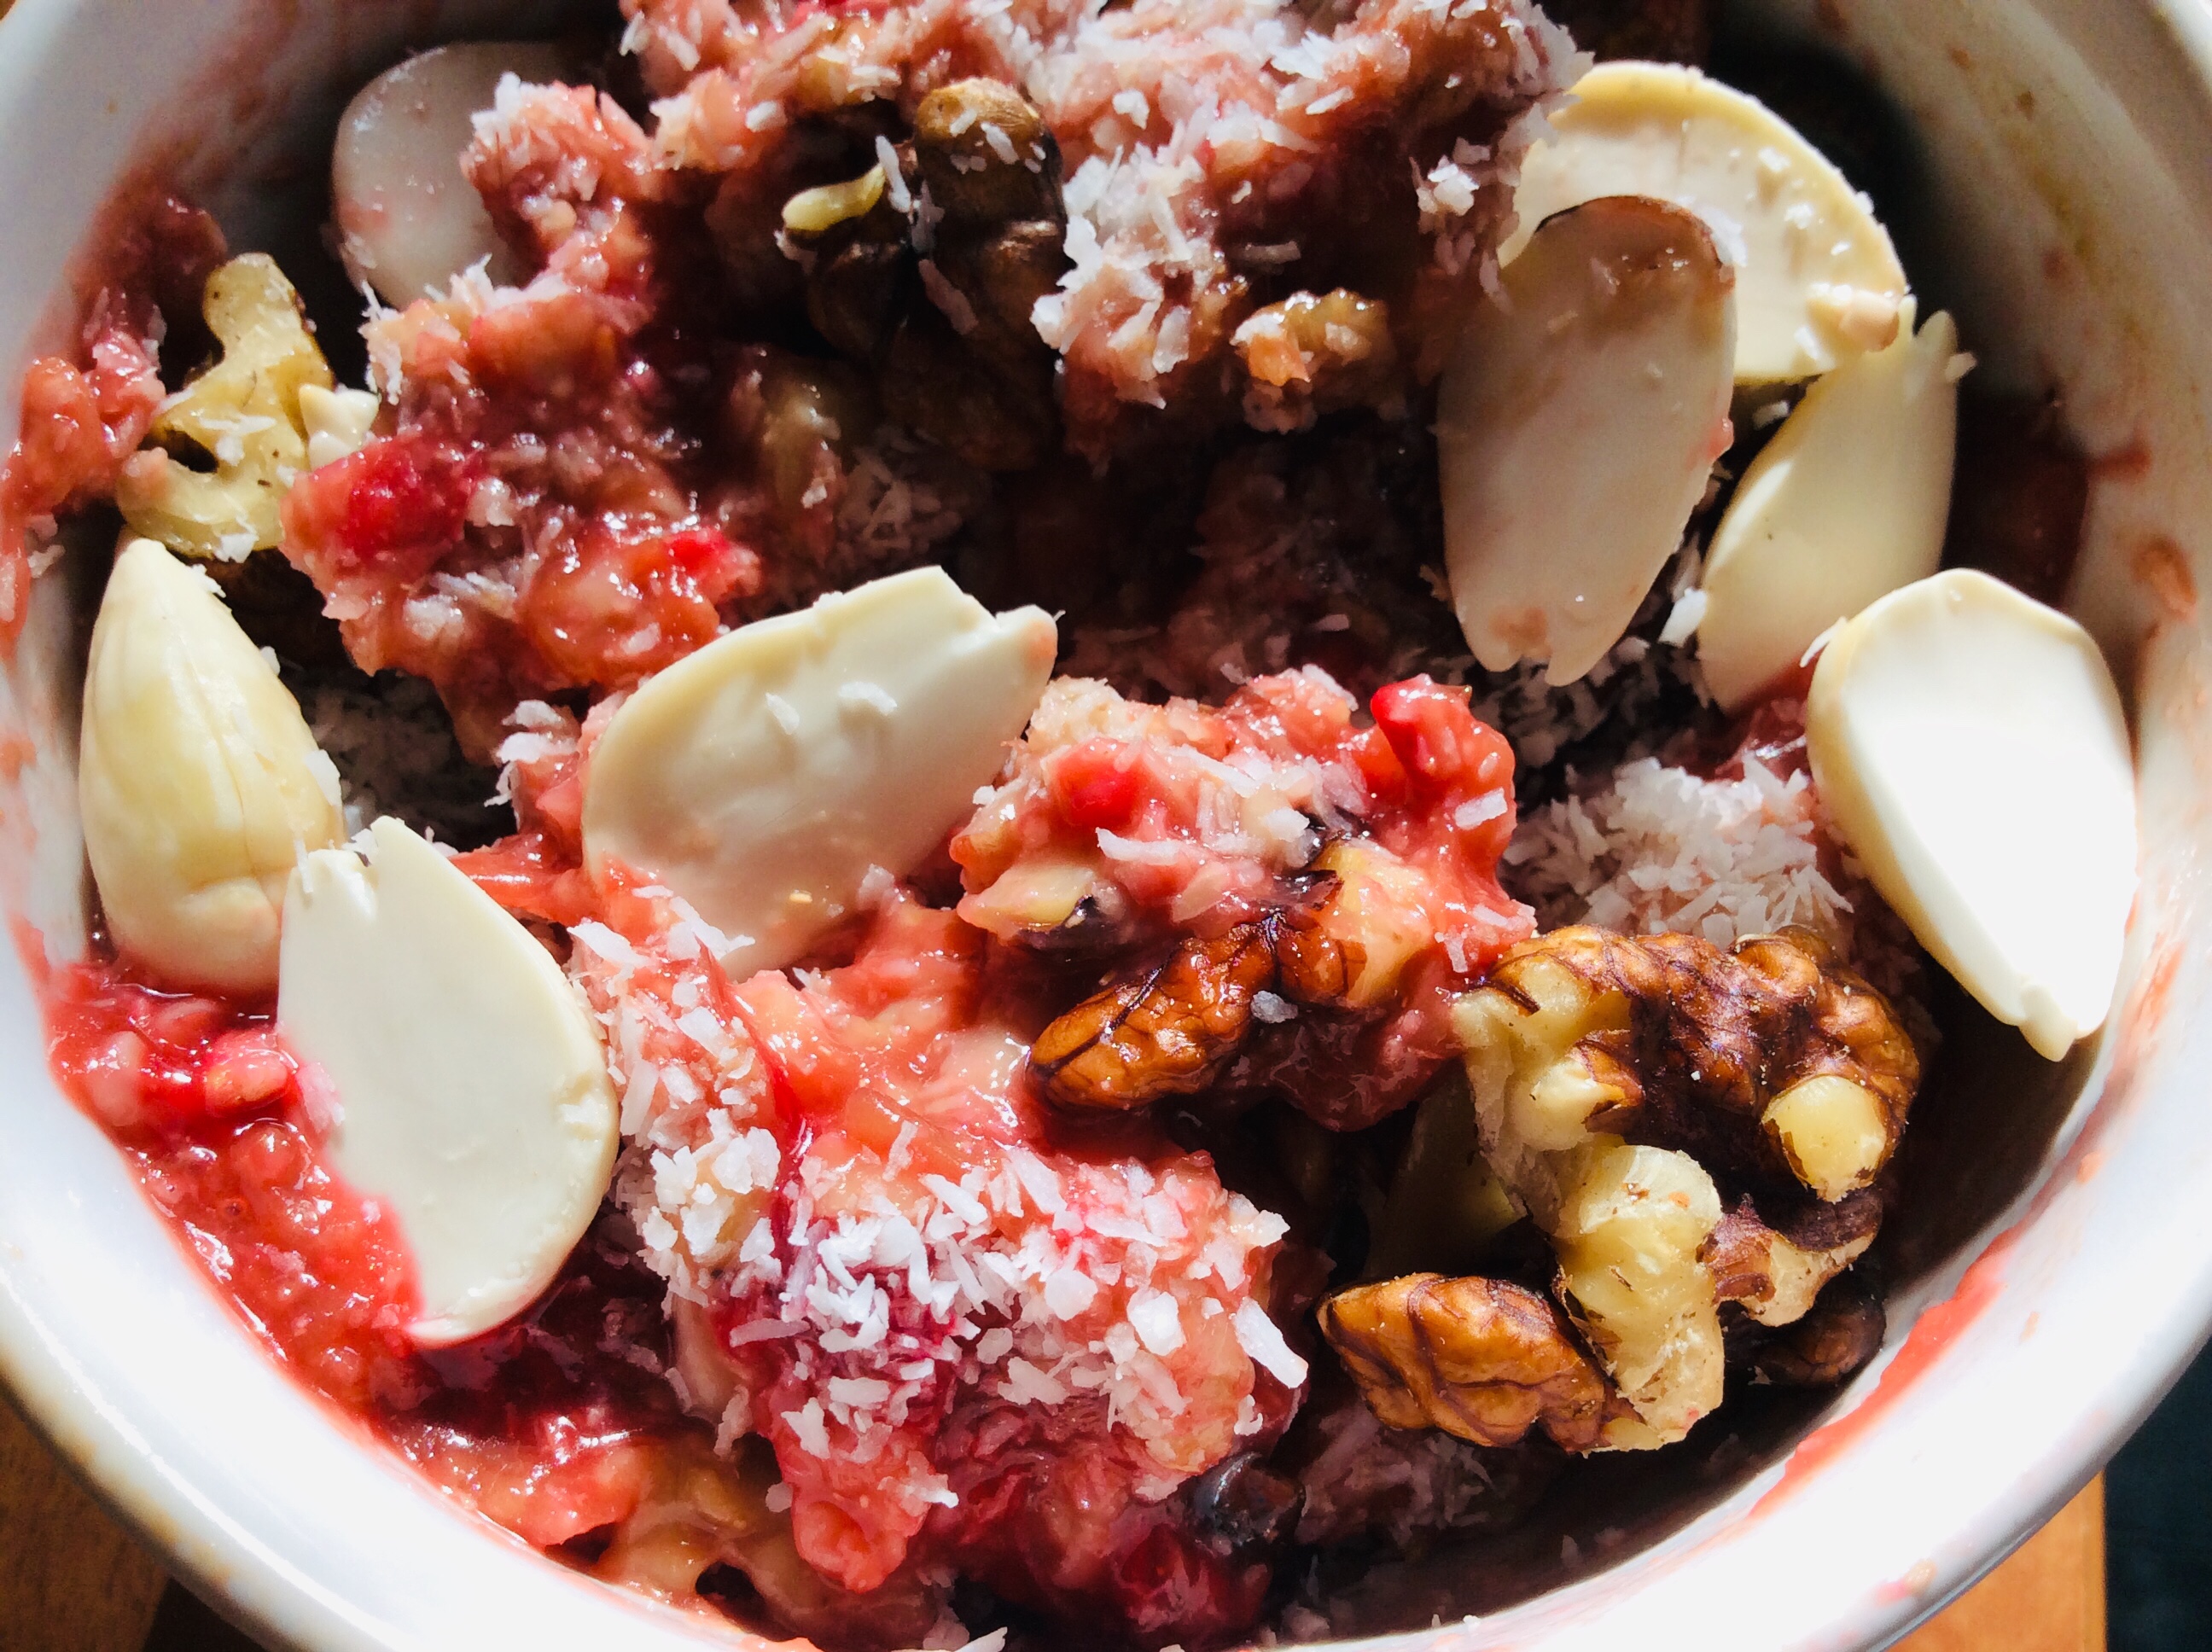
1. Buddha Bowl
Buddha bowls are great for hot weather. They easily reuse leftovers from other meals without needing to be reheated. Its composition is variable and may contain a cooked cereal such as bulgur, quinoa or buckwheat. A legume like chickpeas or butter beans. Leafy vegetables, root vegetables, bulb vegetables, etc. A protein like tofu, eggs or fish and then a sauce or vinaigrette.
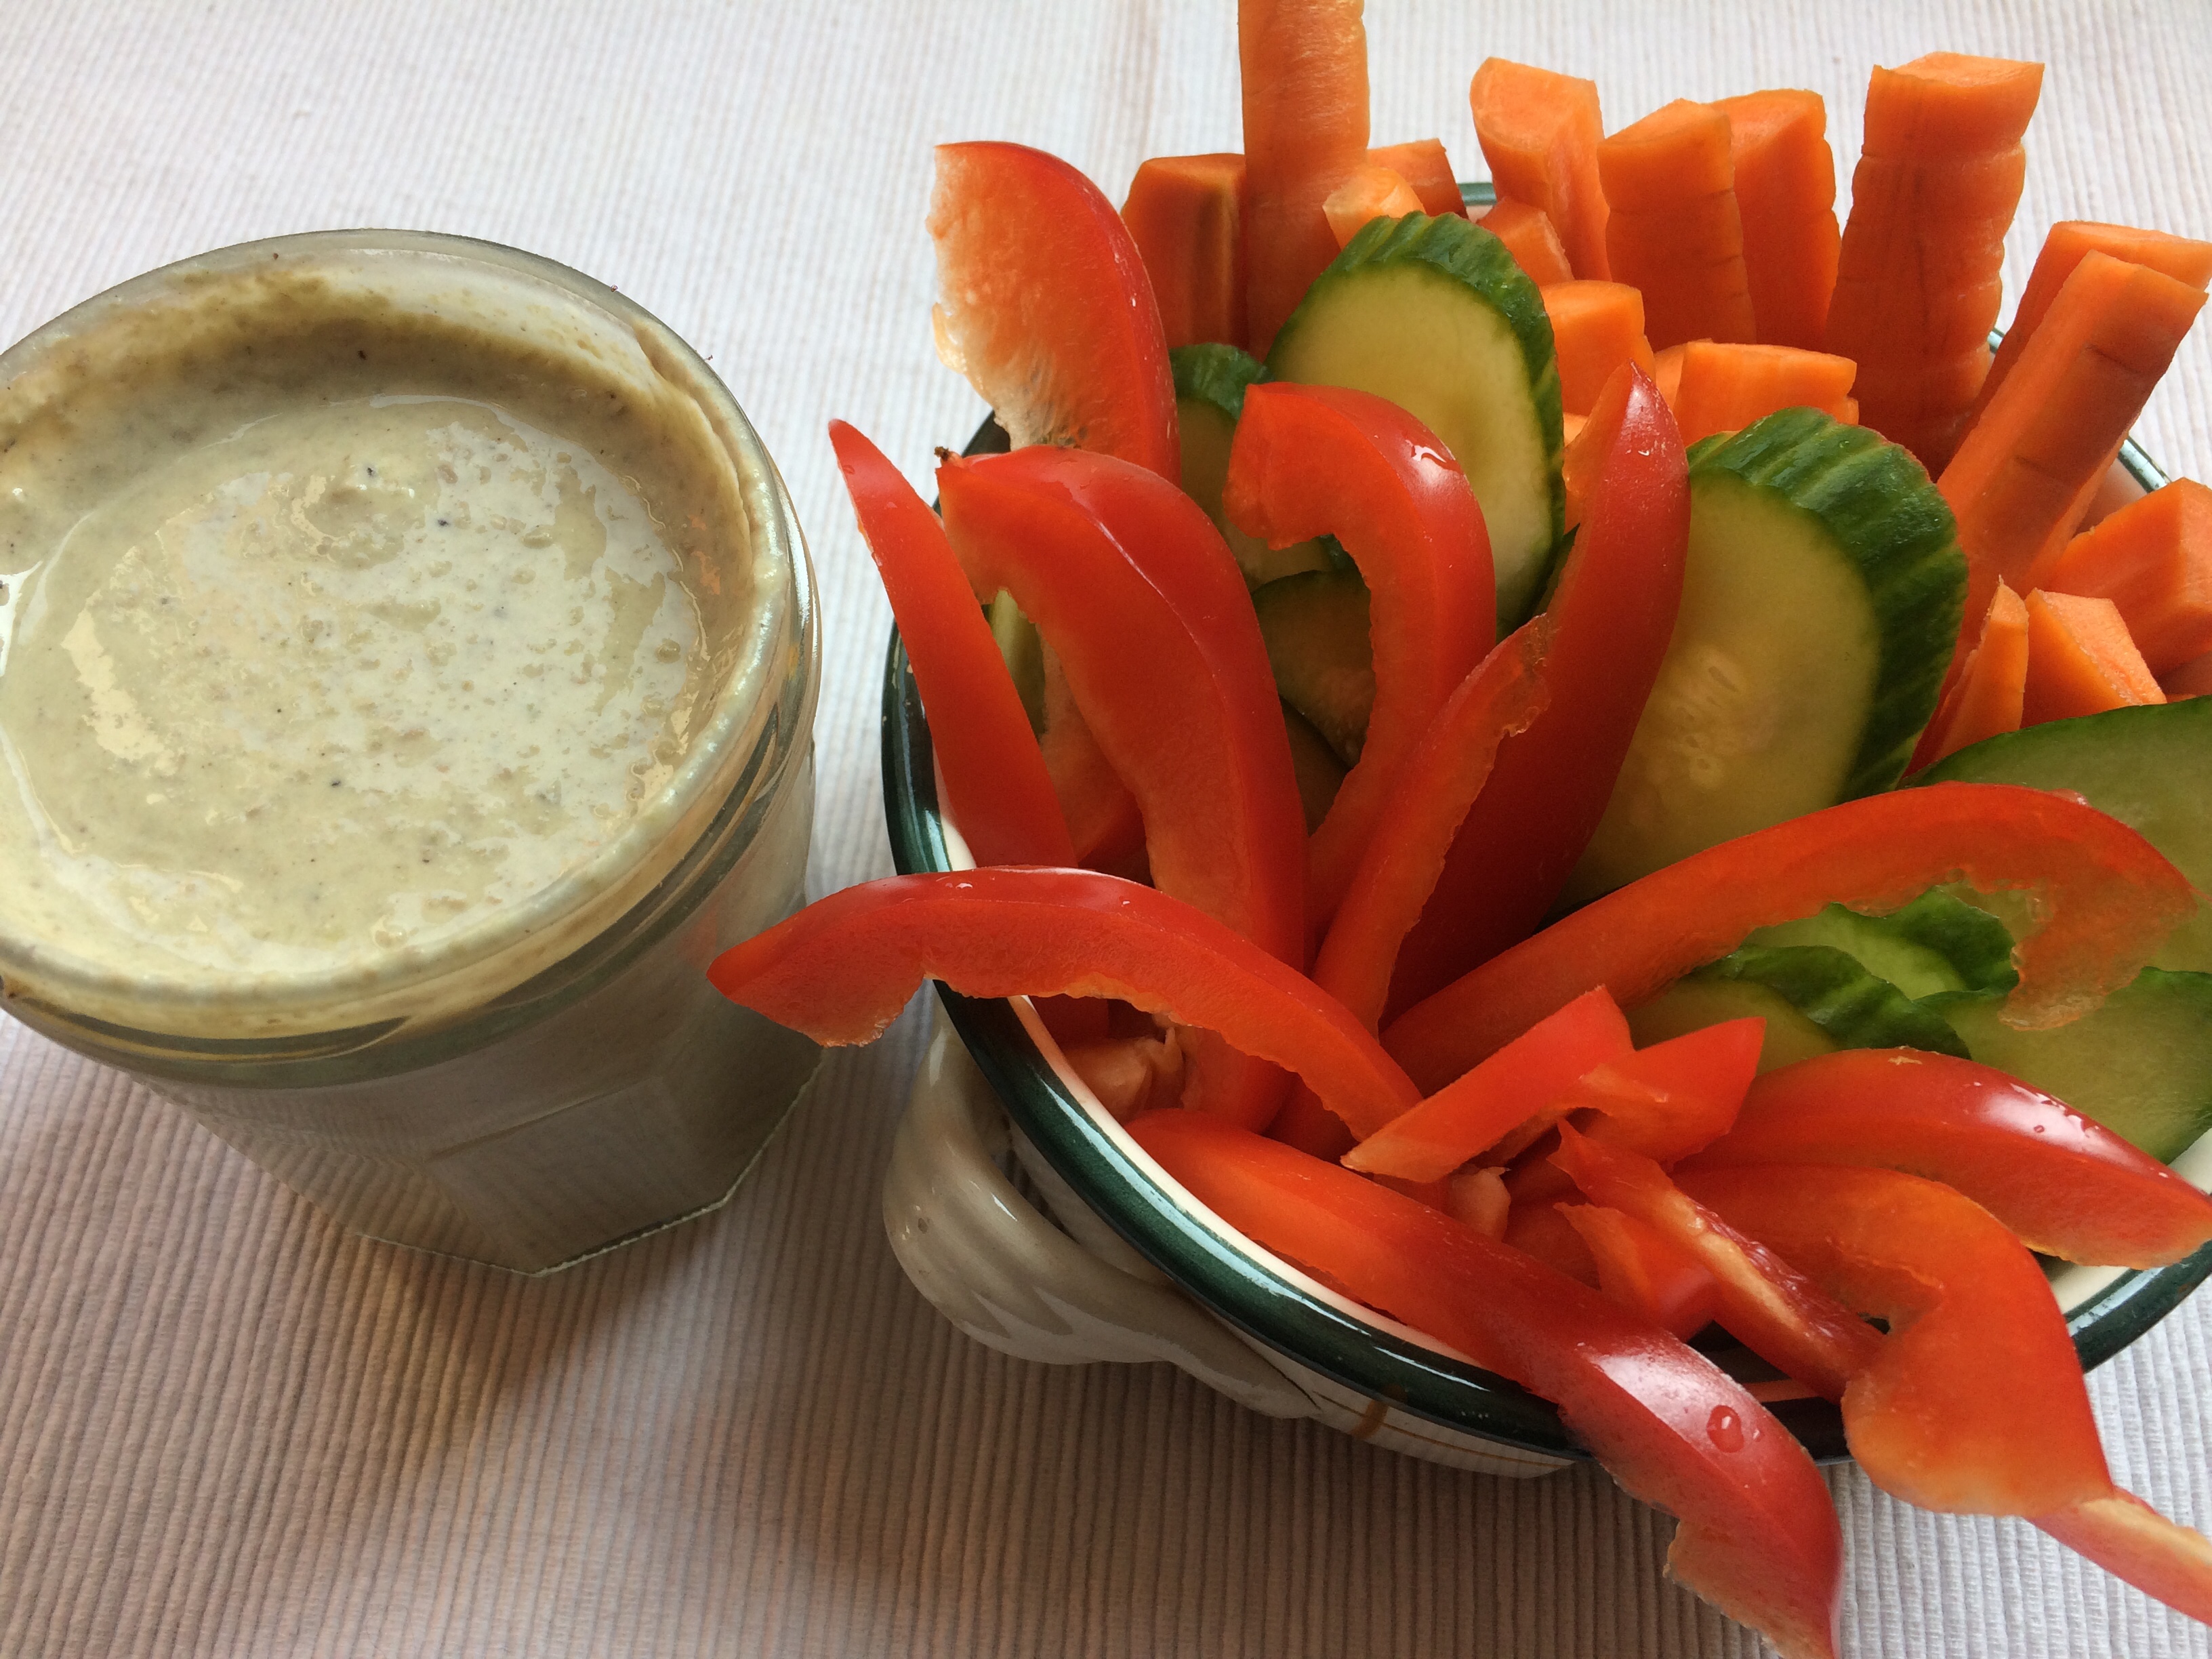
Obviously, if you already have tabbouleh salad, hummus, lettuce leaves, a small piece of cucumber, a piece of carrot that you can grate and then a hard-boiled egg … you put everything in your favorite bowl and so! you have a great buddha Bowl! Simple, effective and above all pleasant to eat in hot weather.
If you have no idea, check out my recipes here.
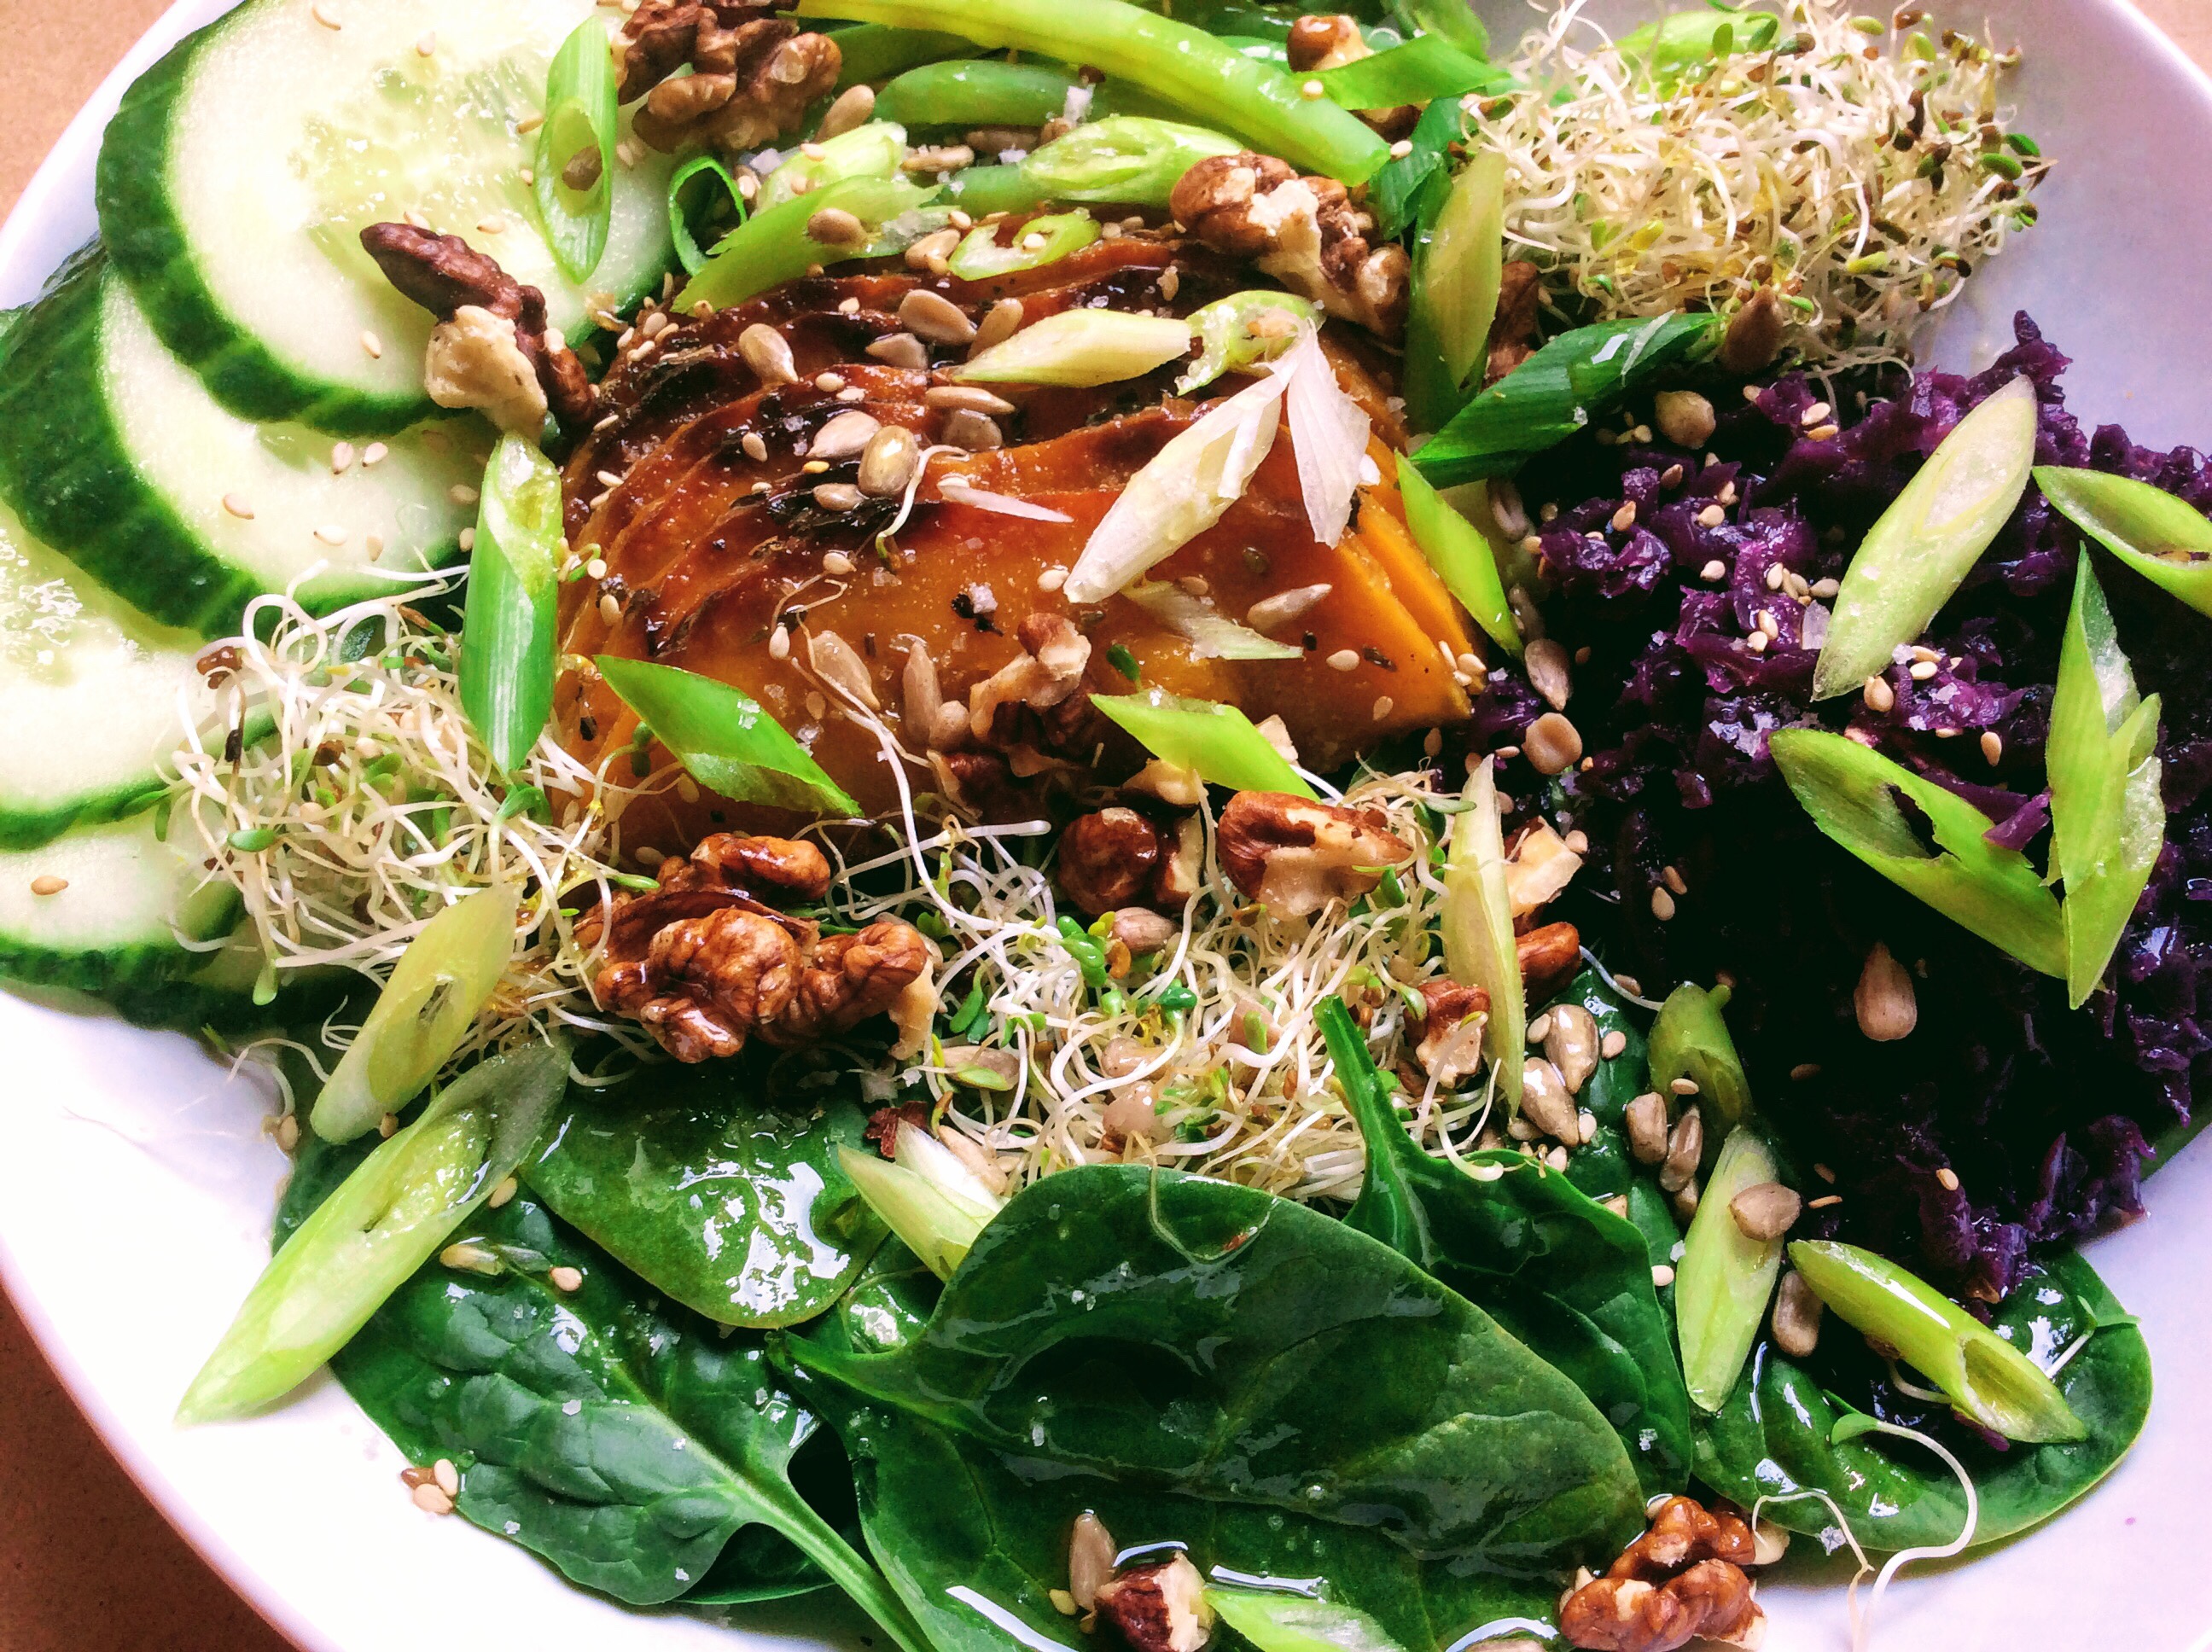
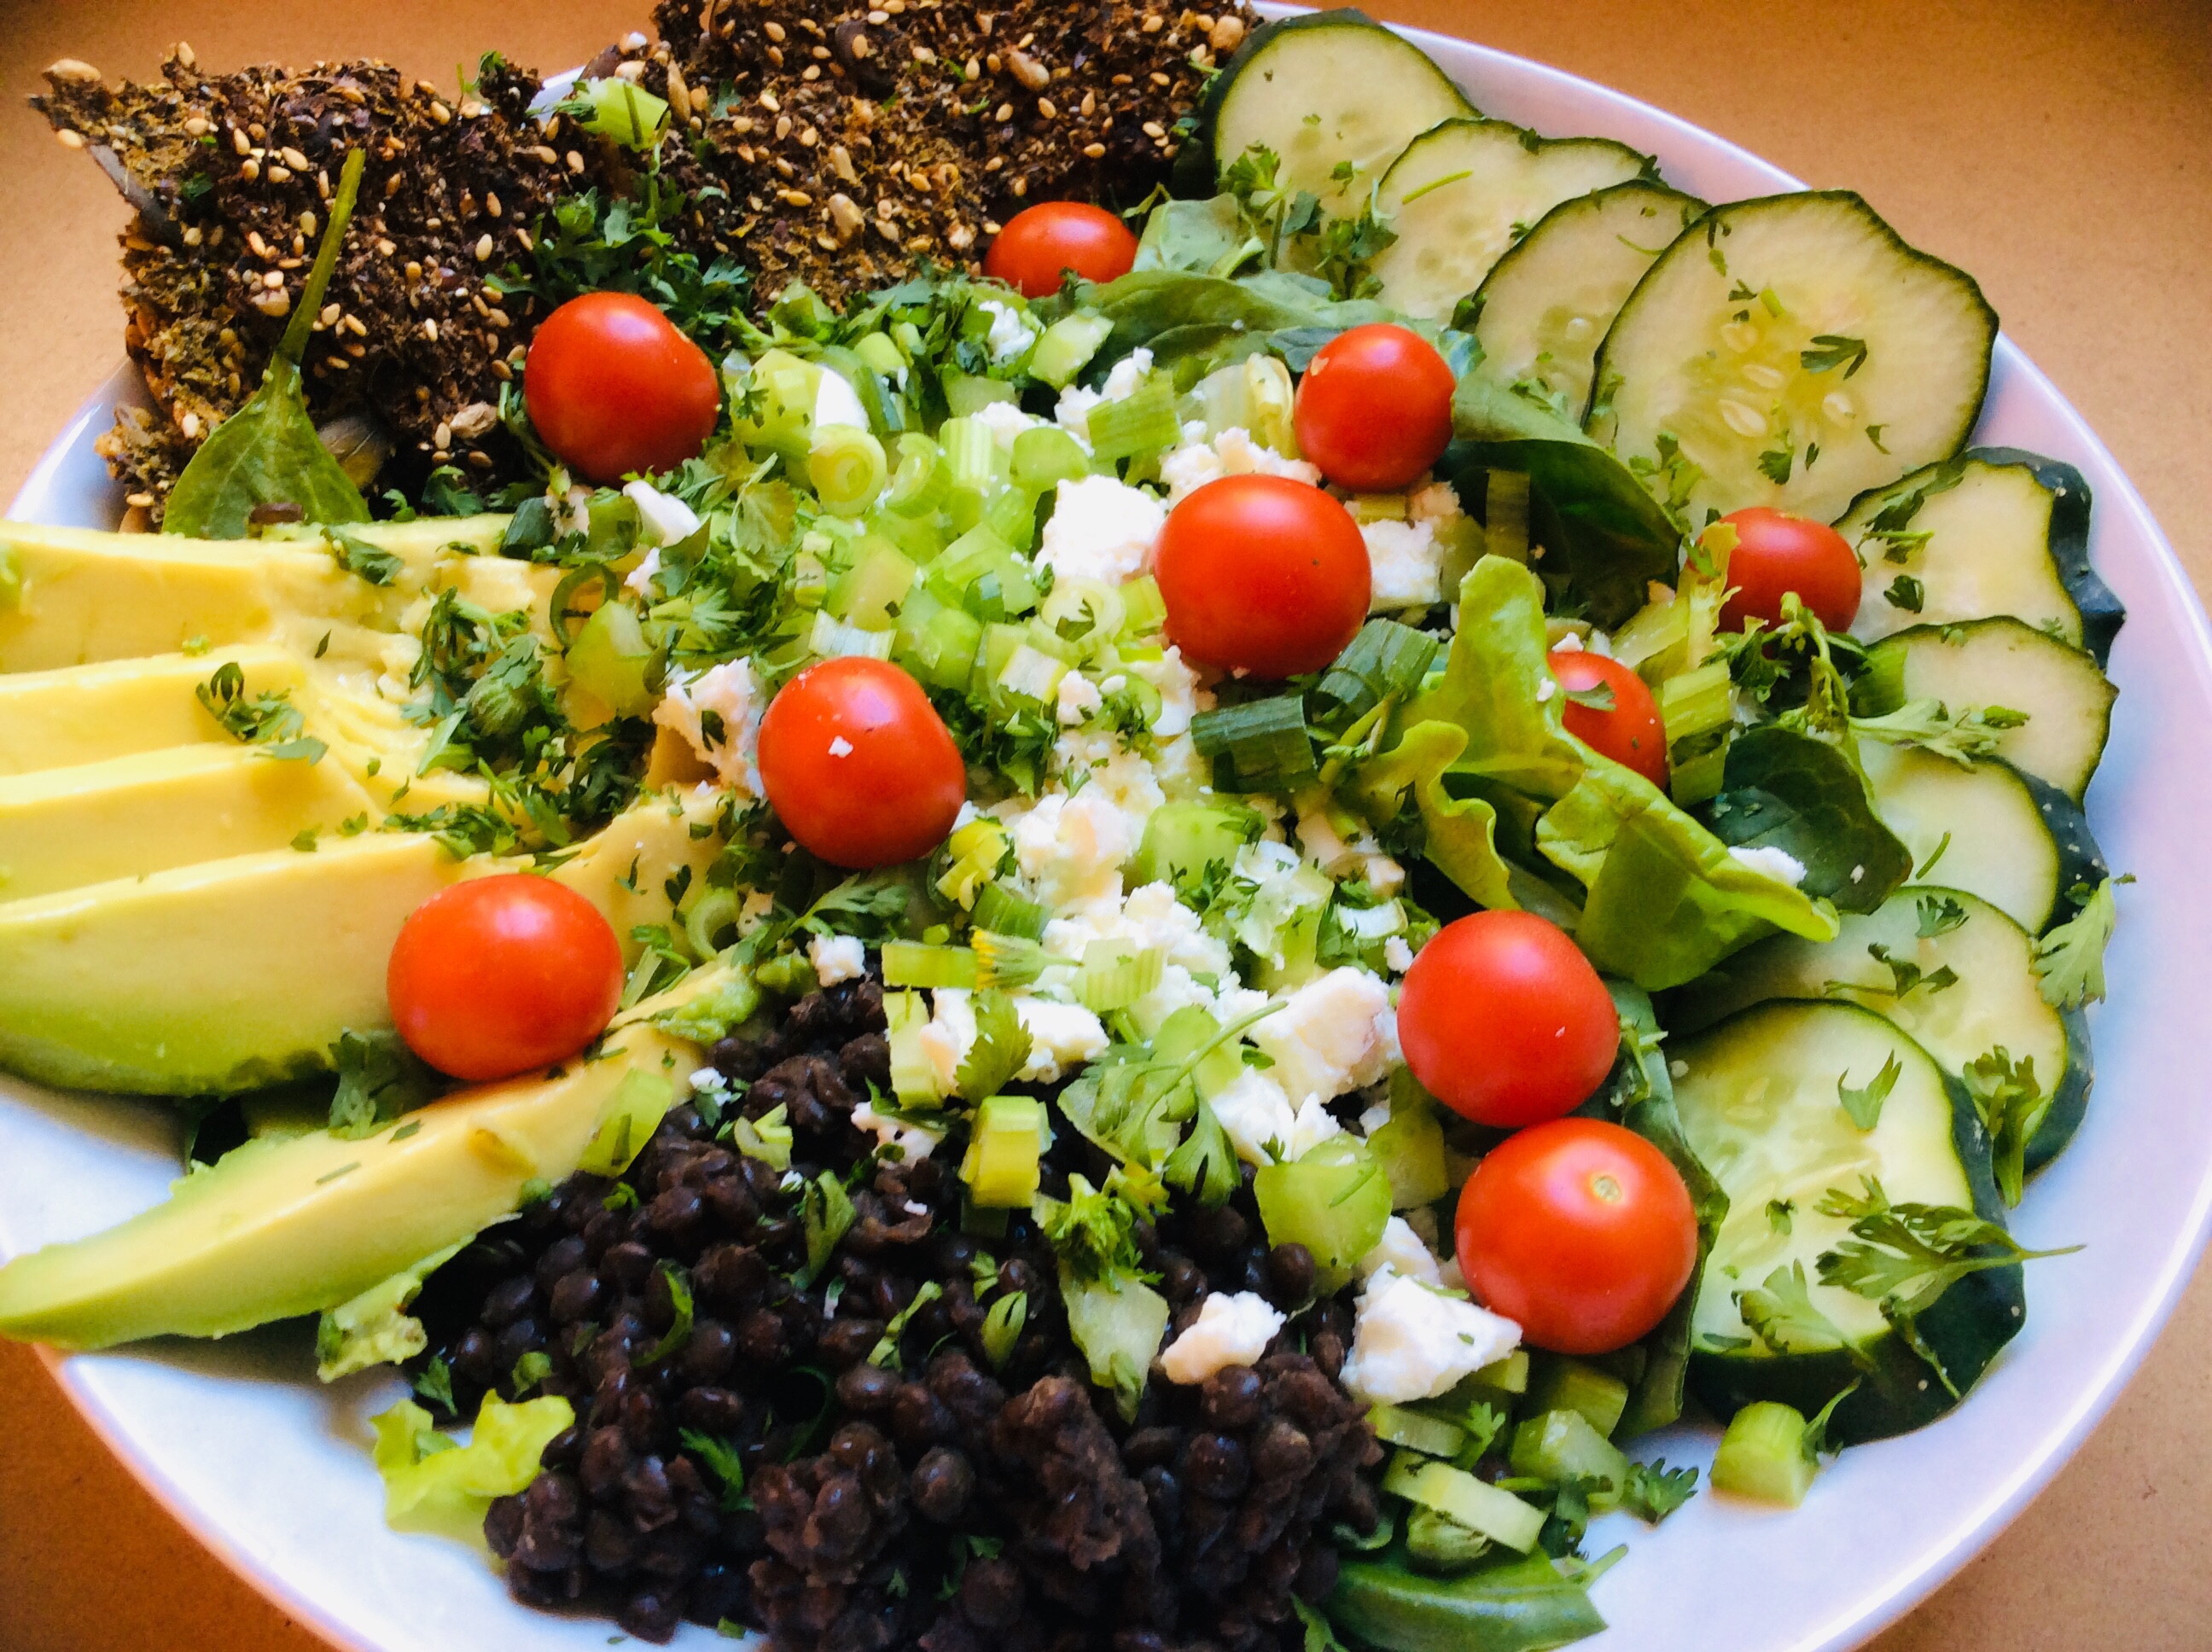
2. Meal salads
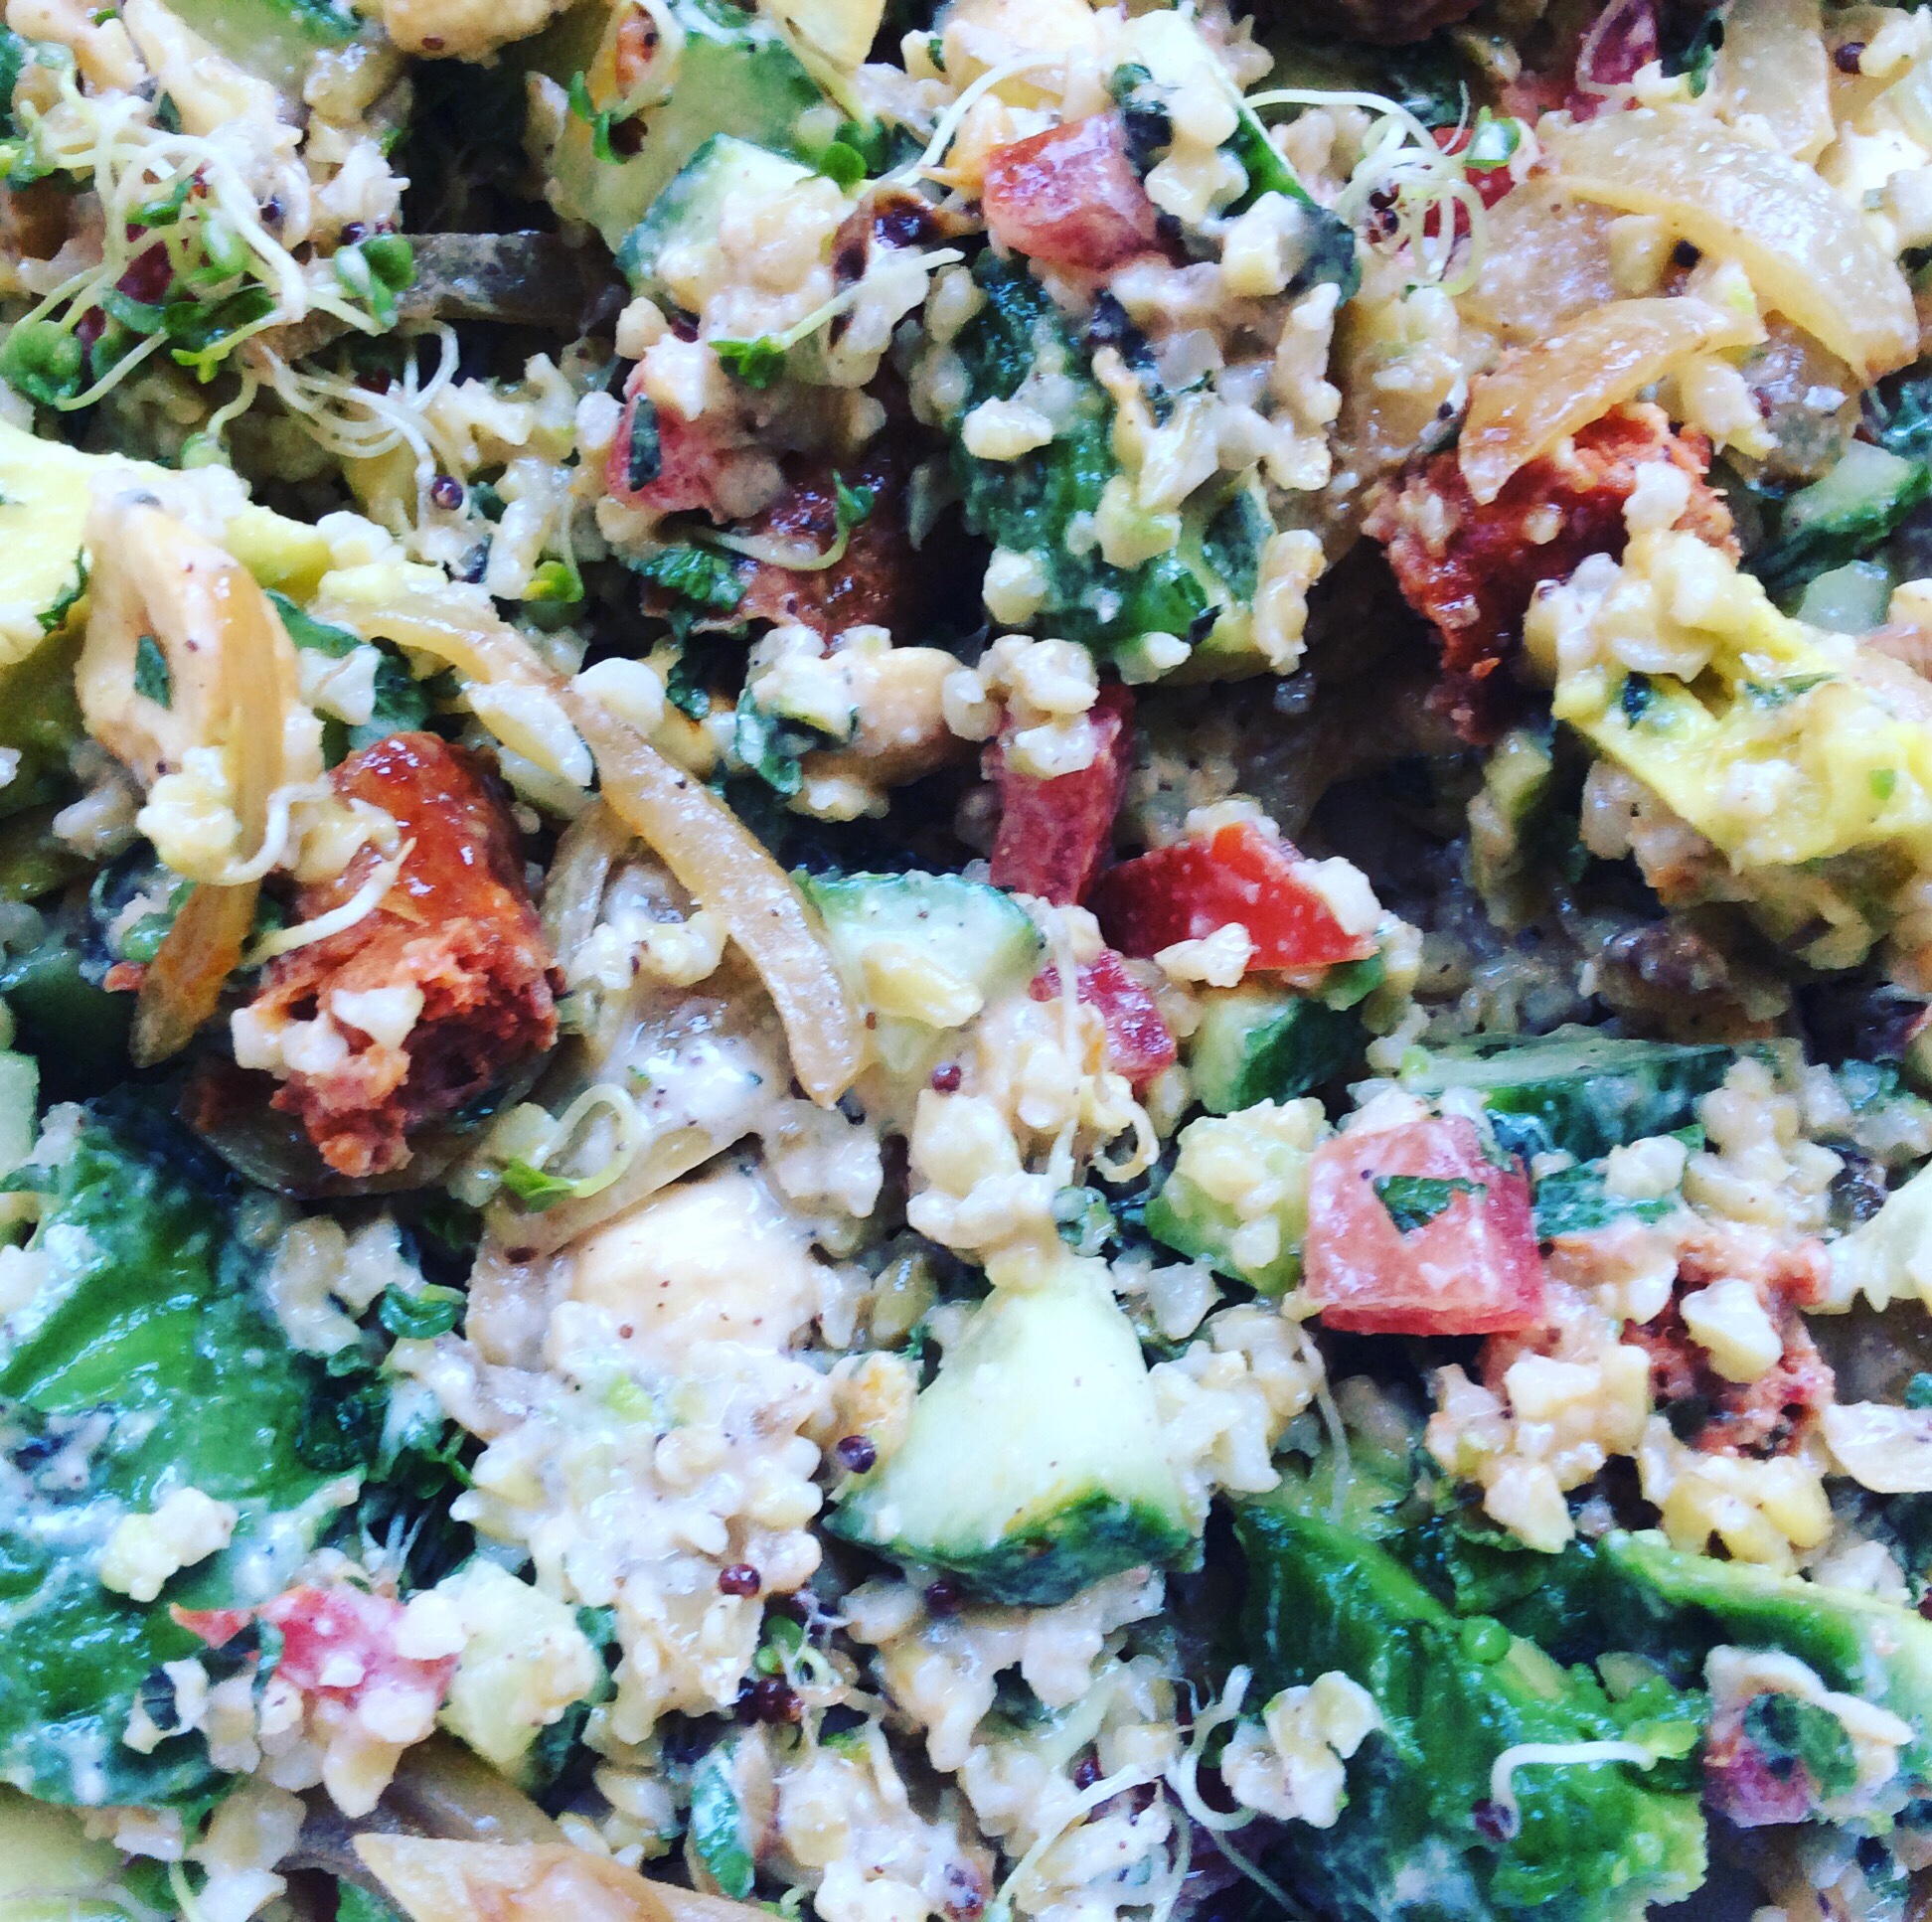
Like Buddha Bowls, meal salads are great for refreshing us. In addition, they are easy to create since you can put whatever you want or what you have in your pantry and fridge. To call it a salad, you need to have raw or cooked vegetables, protein, and a cold dressing or sauce. Then you mix everything together!
Again, use up the leftover vegetables and protein from the other day. This facilitates its creation!
If you don’t know what to make, here are my recipe ideas.
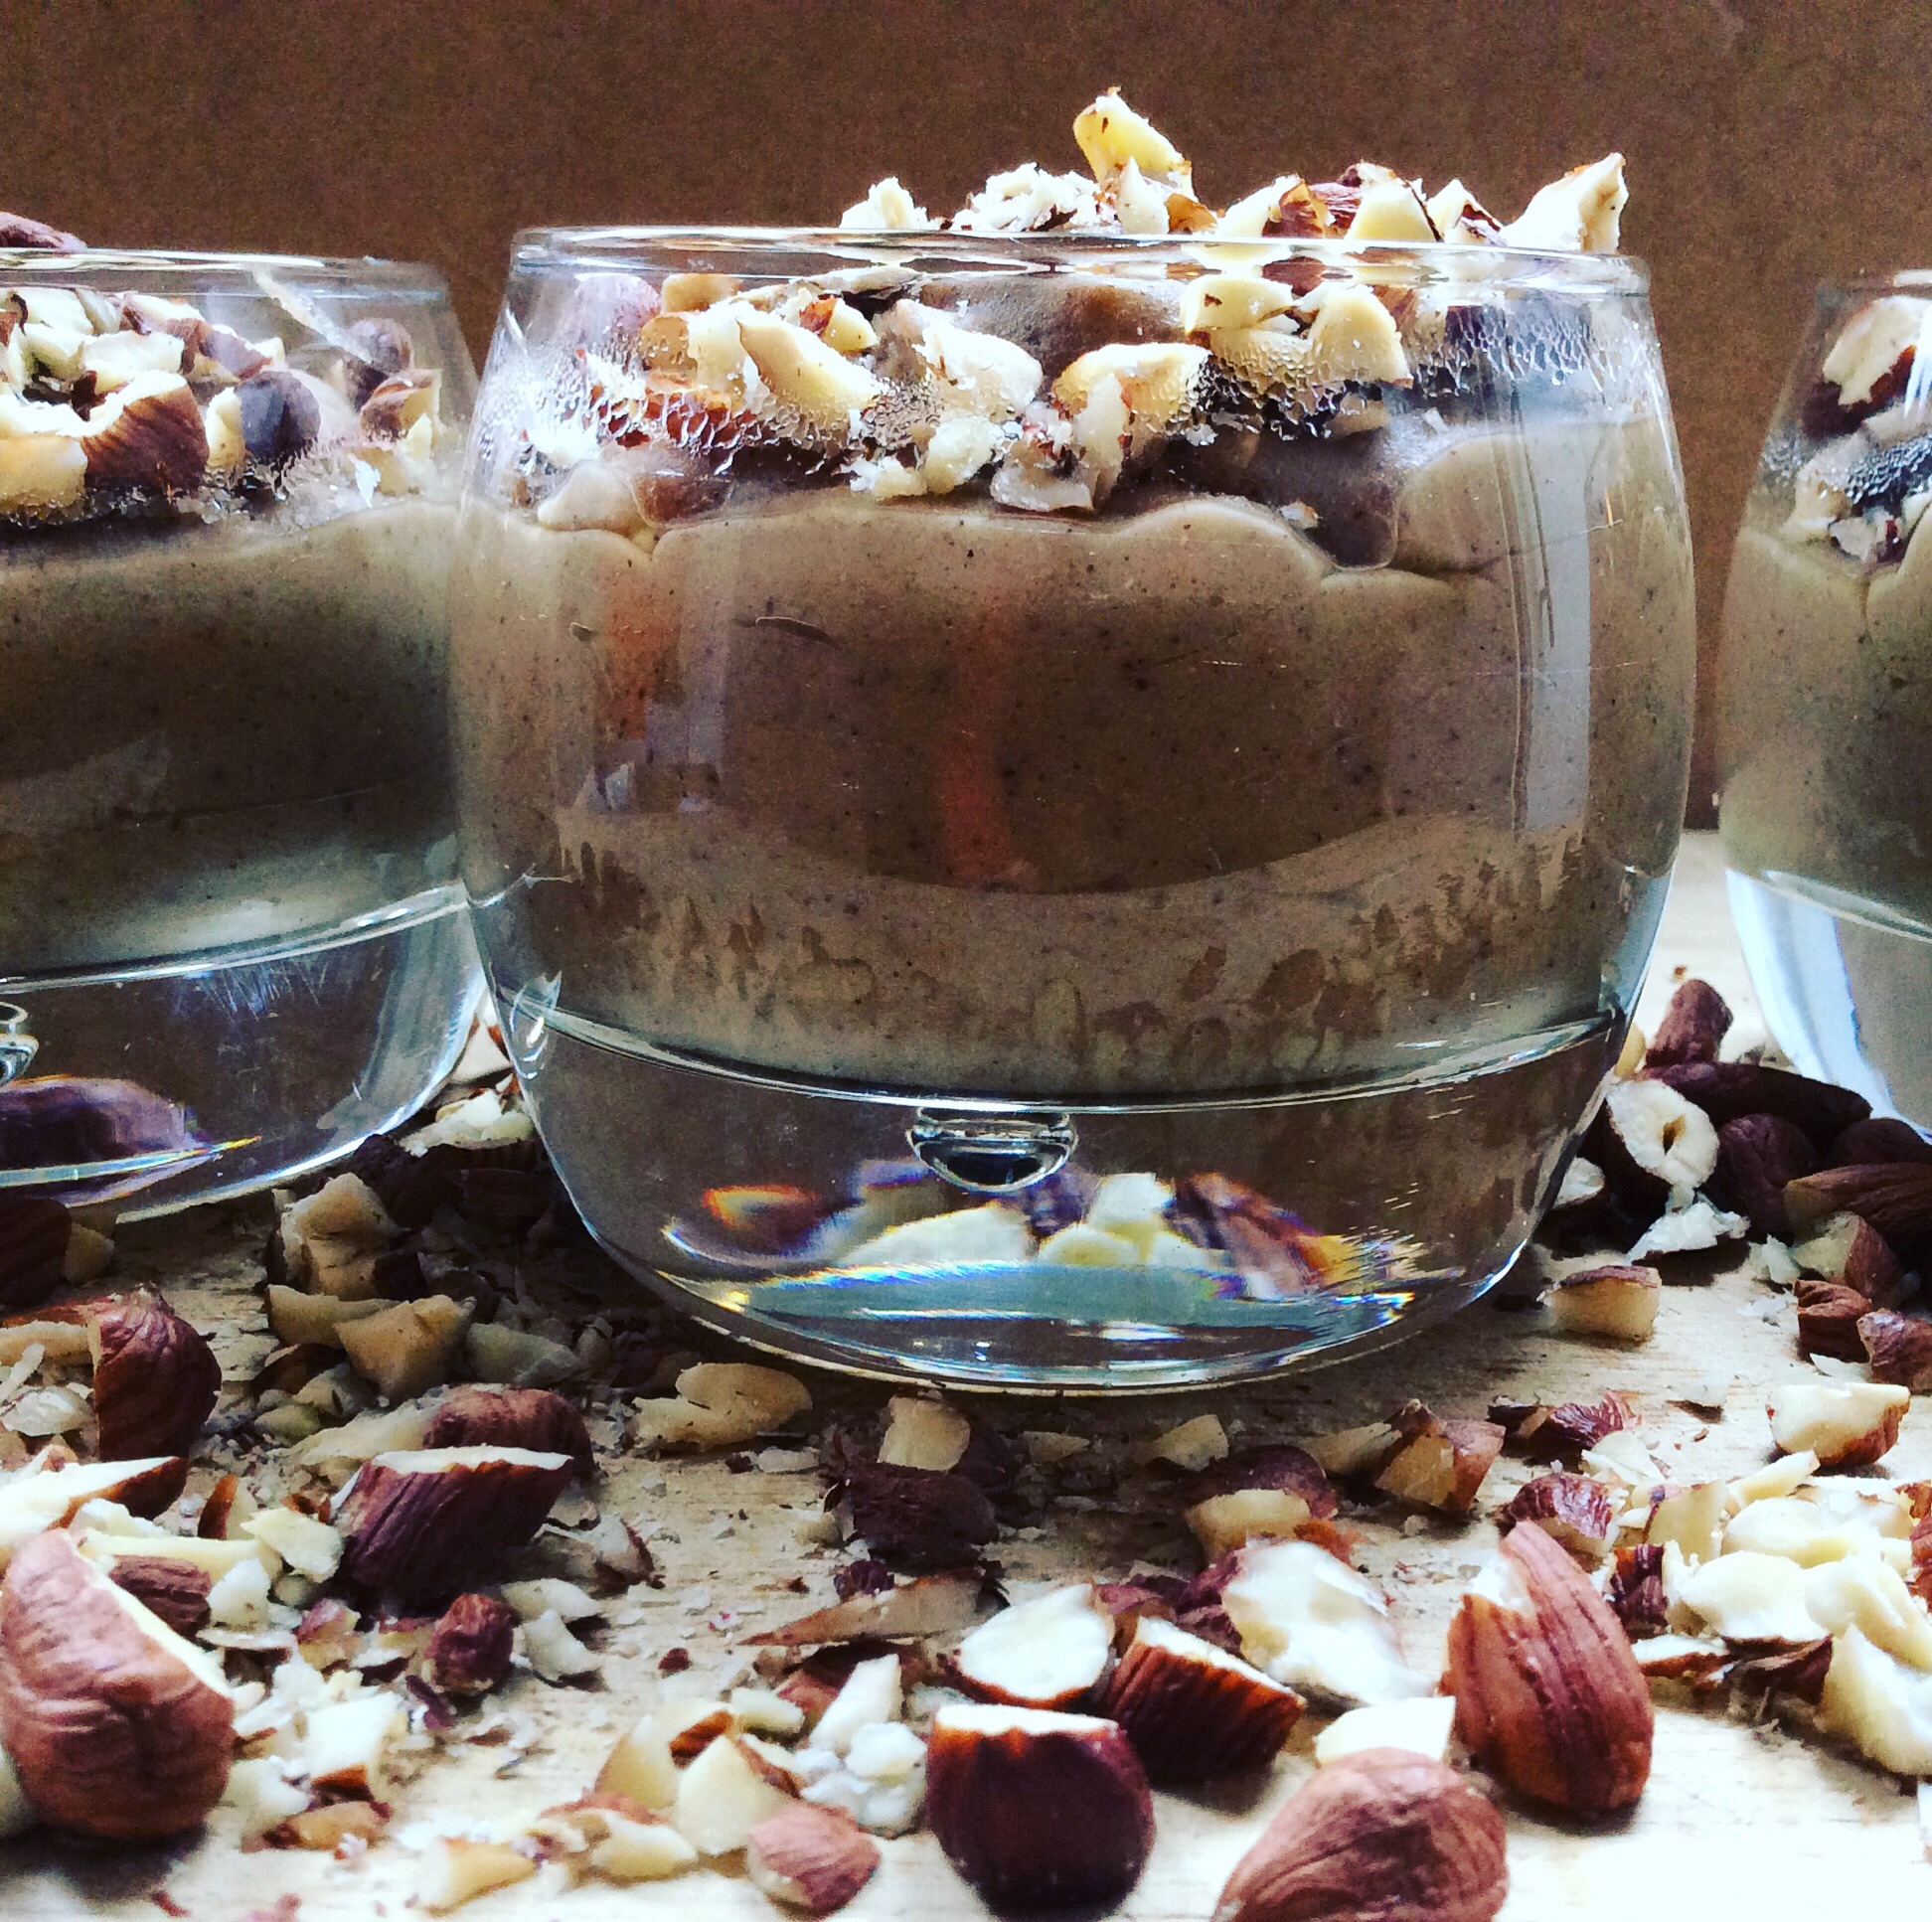
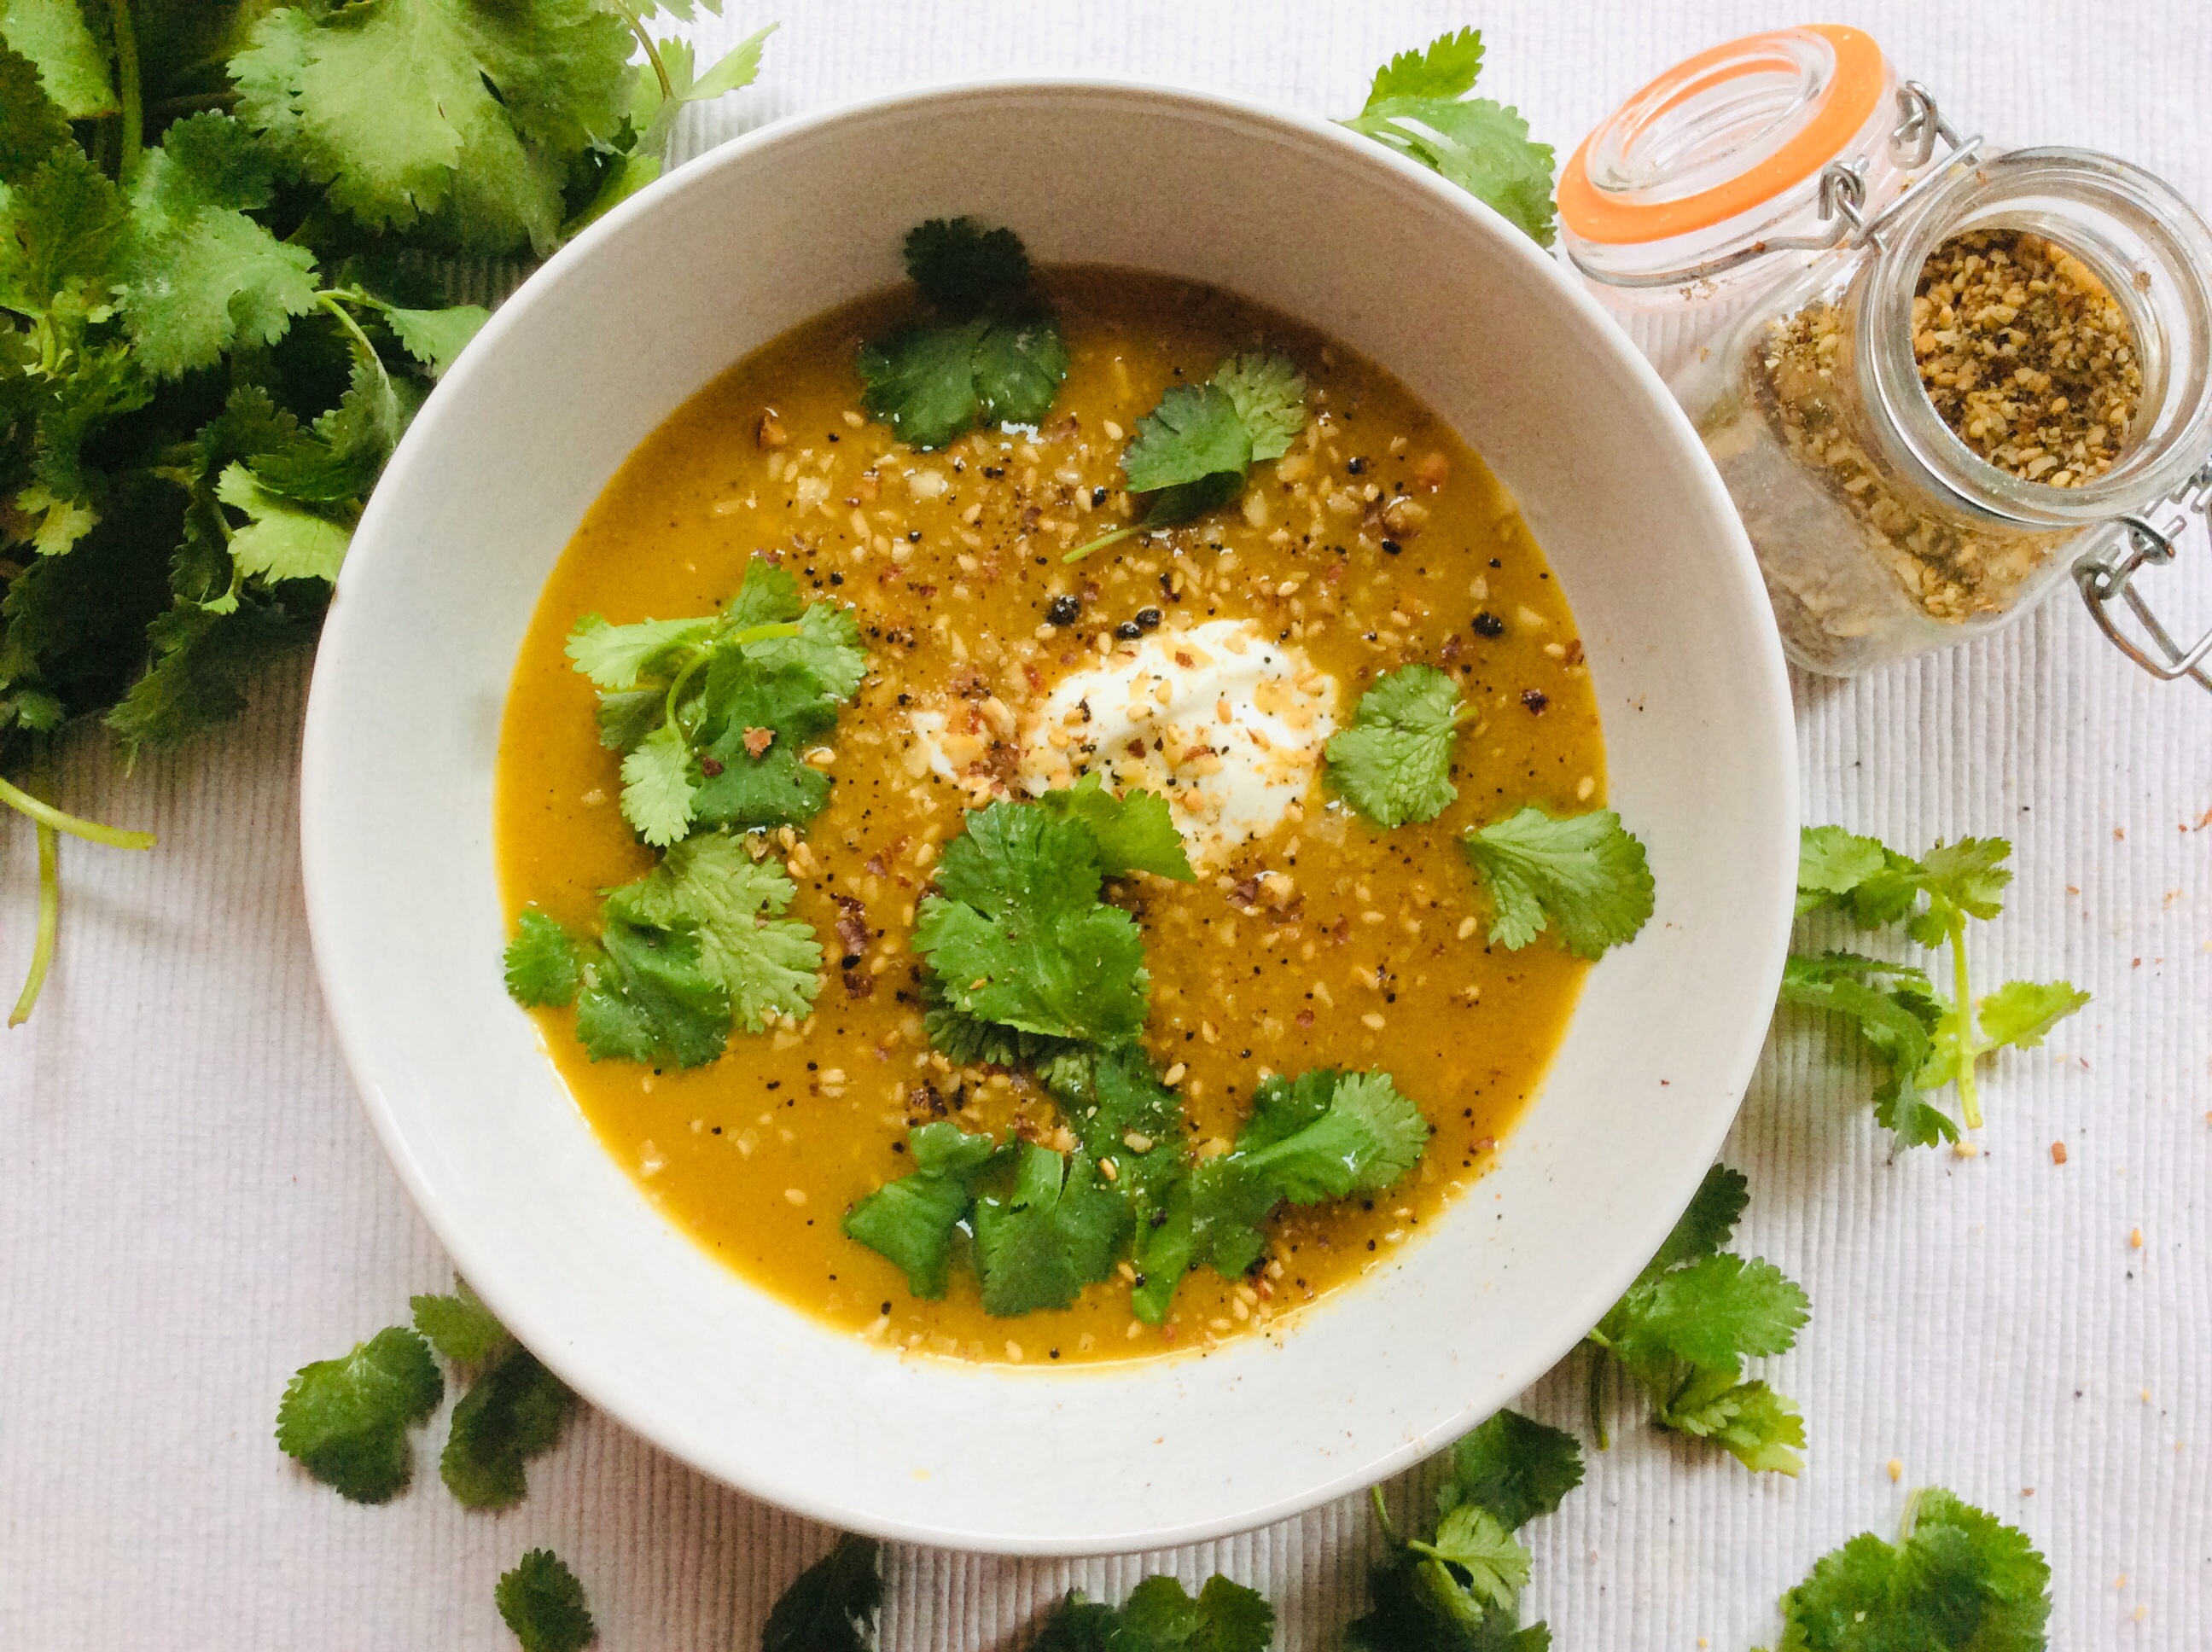
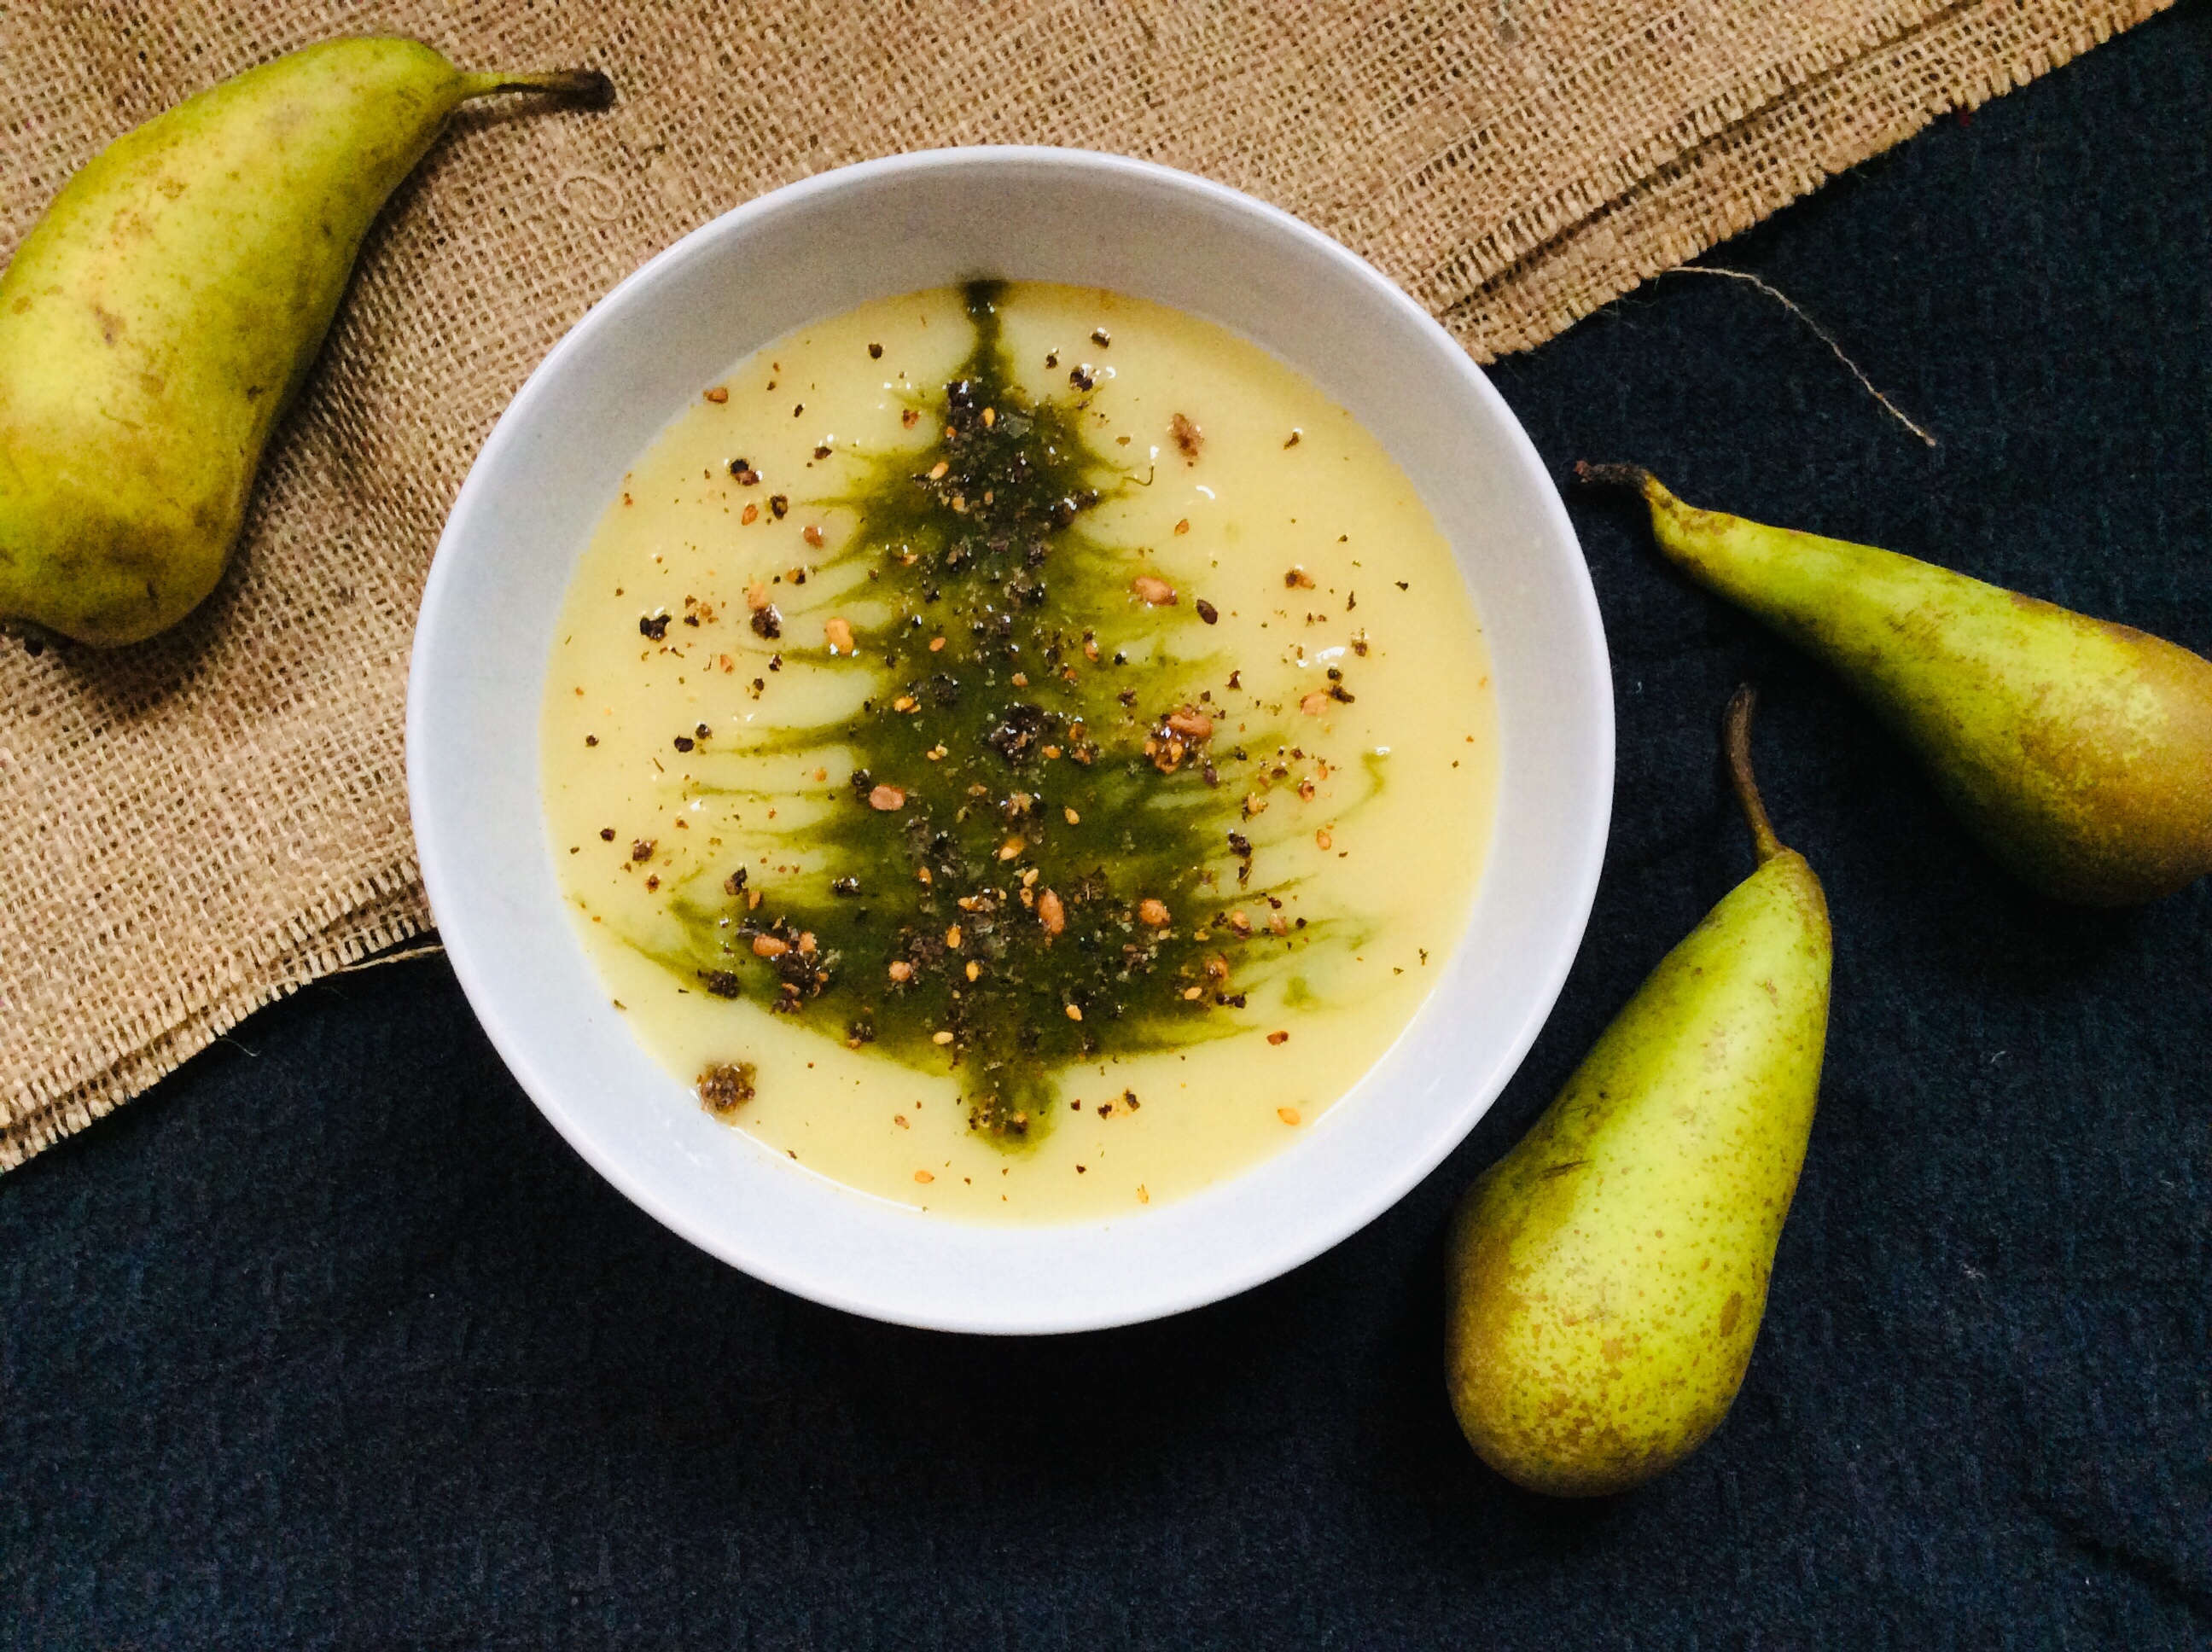
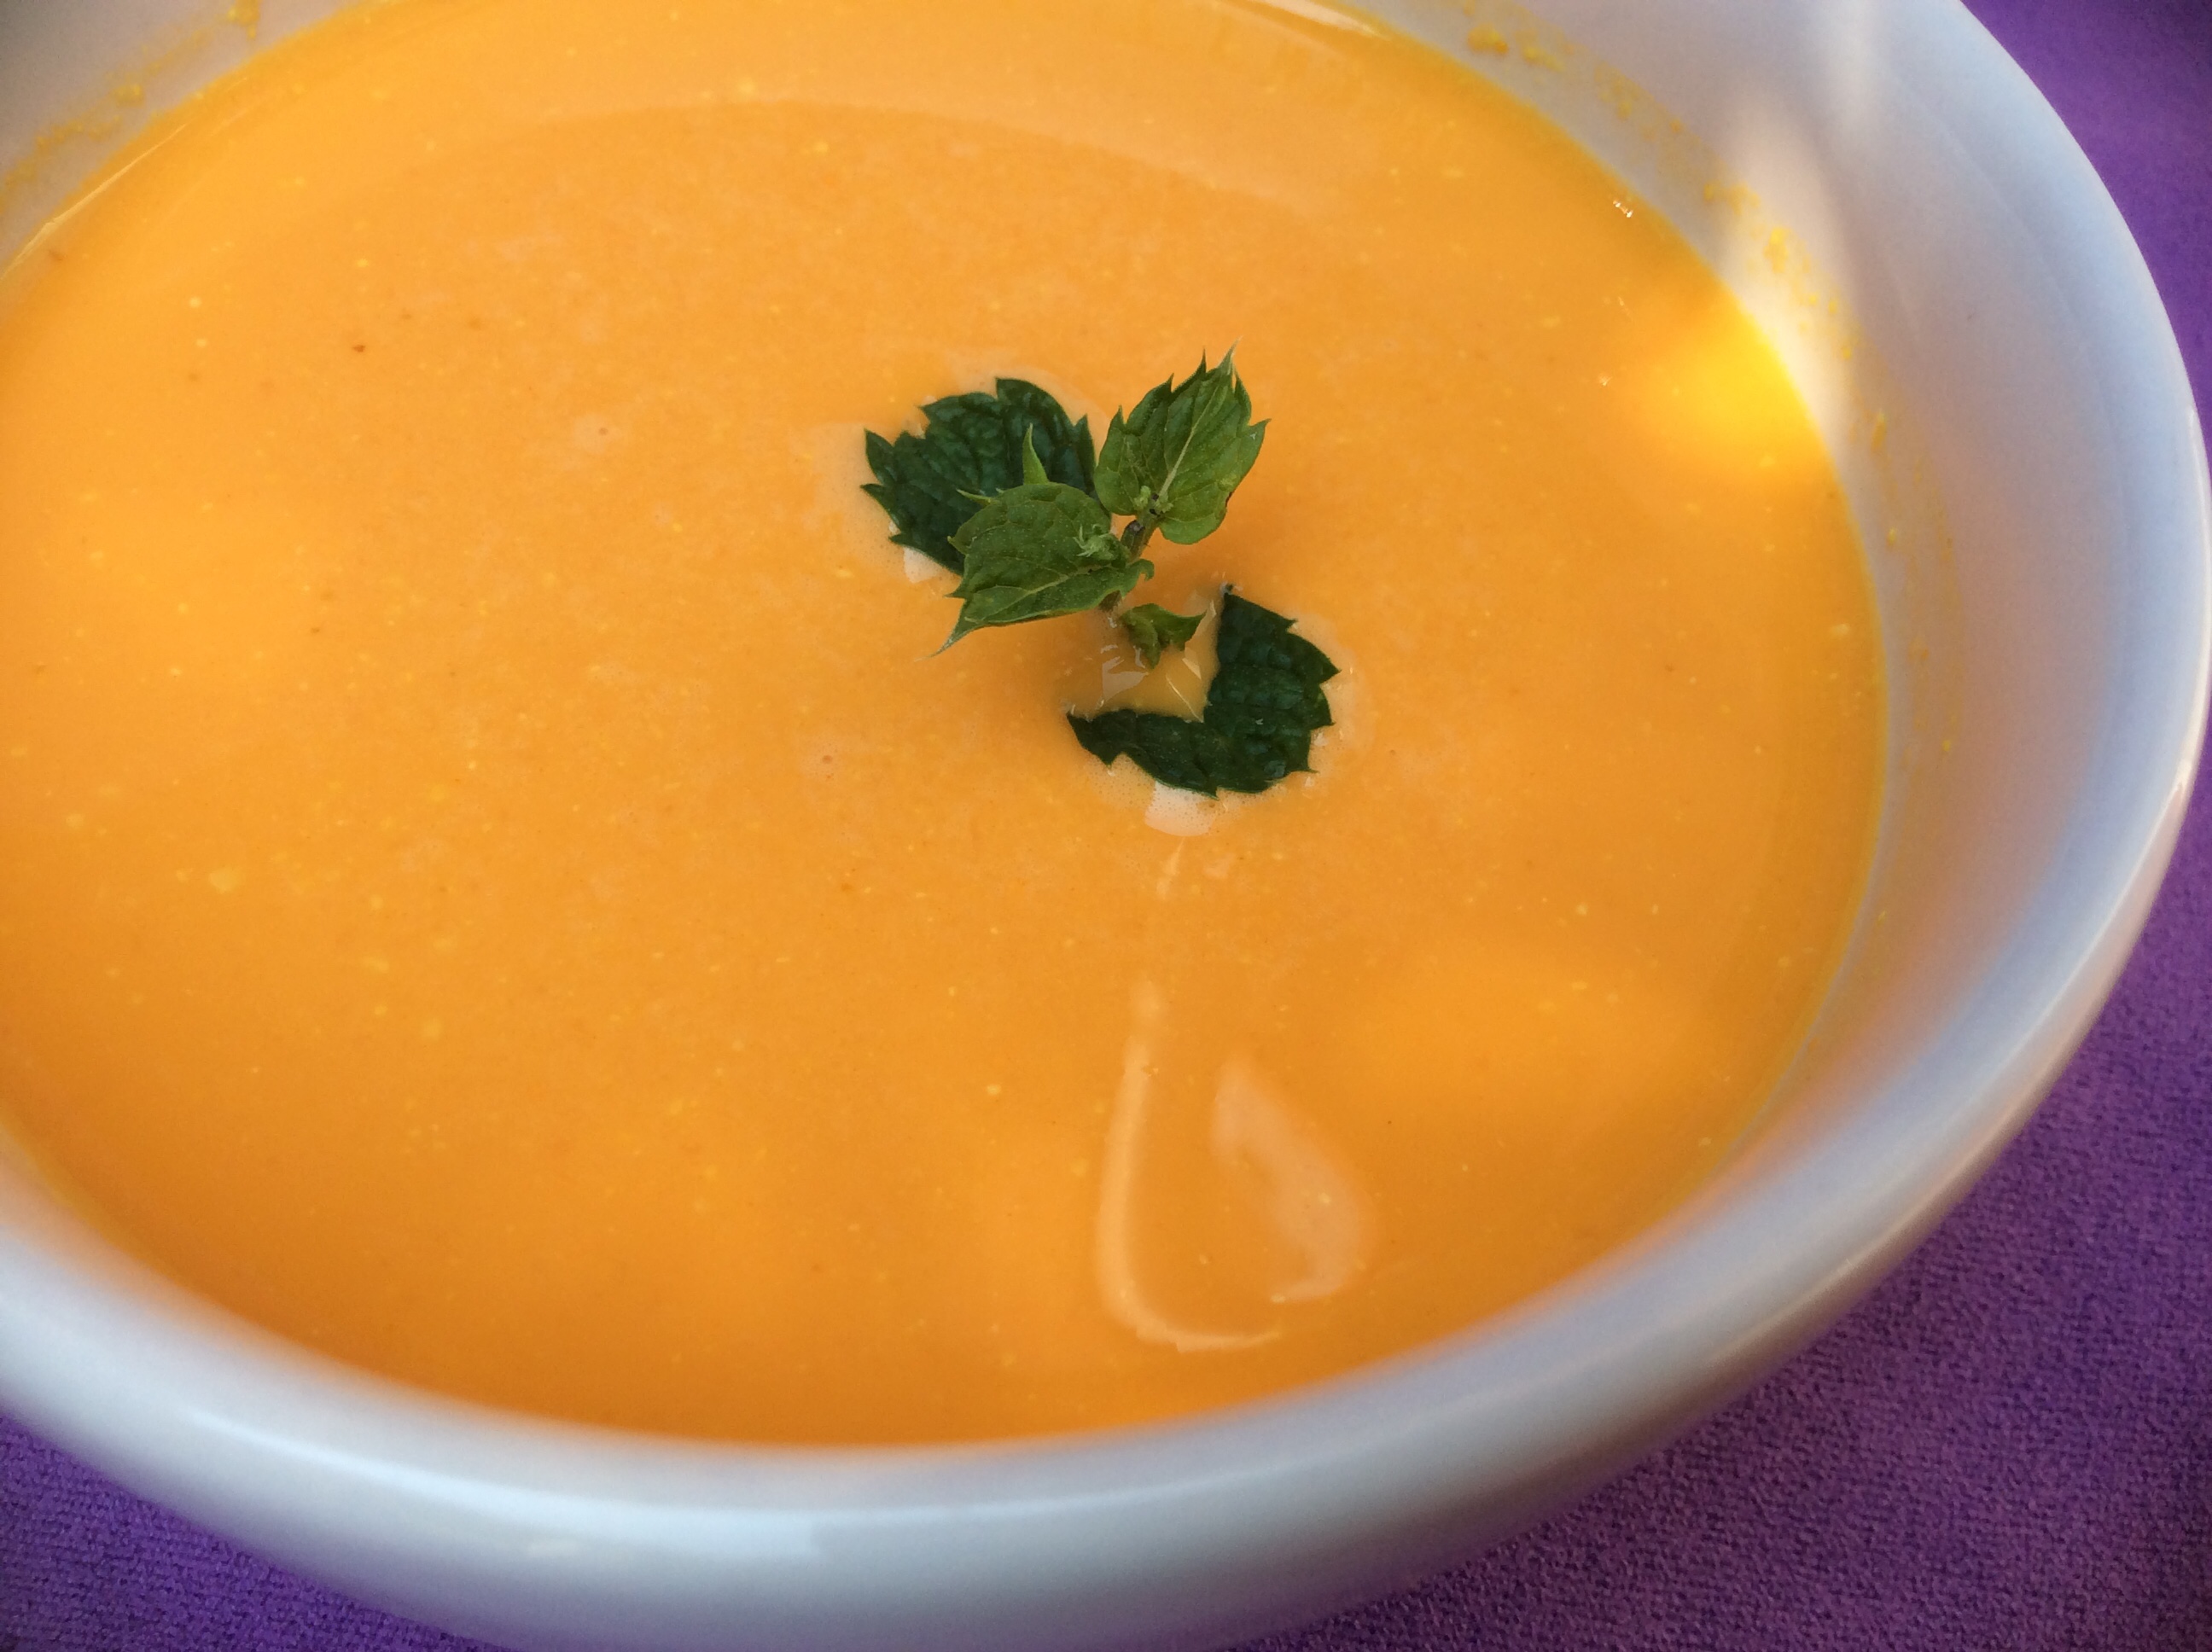
3. Cold soups
When it is too hot, our appetite is not very great and then we try to refresh ourselves. Nothing like a cold soup as a light meal or as a starter. I find that this one must be prepared in advance in order to cool well. To keep it cold when you drink it, you can place the bowl on a bed of ice cubes.
You need an immersive blender or blender, ingredients that contain water and that give an impression of freshness like cucumber and mint. Sometimes a few ice cubes or cold water.
Here are recipes for cold and raw soups.
4. Poké Bowl
Like the Buddha Bowl, the Poké Bowl is a perfect cold meal in hot weather. This usually consists of rice and raw fish. Vegetables and / or legumes, bean sprouts, edamame and soy sauce are added to give it a Hawaiian or Japanese taste.
But beware! Raw fish in hot weather should not be left out of the fridge for very long!
5. Cold pasta
Obviously, you have to be able to cook pasta and that, in hot weather, is not easy. Maybe cook them in the evening when it’s cooler or put the pot on the BBQ. If you have a portable electric hotplate, take it outside and cook lots of pasta. You will thus have a few meals possible since cold pasta is delicious in salads but also in Buddha Bowls or soup.
Add some vegetables, protein and a sauce to them and then you have a great meal. My kids love pulled chicken farfales with cherry tomatoes, olives, artichoke hearts, mozzarella and a creamy Caesar-style sauce.
6. Tartare
Whether it is a tartare of meat, fish, molluscs (oysters, st jaques, periwinkles), vegetables (beets, fennel), legumes (lentils), fruit or seaweed, the most interesting, is that it is without cooking!
You accompany it with a sauce or an oil … a salad, croutons, bread. Warning! Raw proteins should not be left out of the fridge for too long.
Check out this recipe for North Sea Gray Shrimp tartare.
7. Ceviche
Ceviche is a tartare baked in the acid of a citrus fruit. It can be a fish, a mollusc or a vegetable. It can be cooked with lemon, lime, orange, or even grapefruit.
Accompanied by a salad, a crisps or a bread… it’s too good! I really like Cod and Salmon Ceviche in Lime. I add onions, hot peppers and fresh herbs like cilantro. I eat it with tortilla chips. It is so delicious!
En été, par temps chaud -voir caniculaire- on n’a pas très faim. Mais, on veut quand même se nourrir un peu et ce, sans trop d’effort ni sans trop de cuisson.
La maison, à moins d’avoir l’air conditionné, est déjà bien chaude et on ne veut pas cuisiner pour ne pas ajouter de la chaleur ni de l’humidité. Cuisiner au BBQ est une super alternative ainsi que les idées ci-dessous.
Alors, si tu as chaud et que tu as besoin d’idées de repas… cette liste est pour toi!
1. Buddha Bowl
Les buddha bowls sont parfaits par temps chaud. Ils réutilisent facilement les restes d’autres repas sans devoir être réchauffé. Sa composition est variable et peut contenir une céréale cuite comme le boulgour, le quinoa ou le sarrasin. Une légumineuses comme des pois chiches ou des haricots beurre. Des légumes feuilles, des légumes racines, des légumes bulbes, etc. Une protéine comme du tofu, des œufs ou un poisson puis, une sauce ou une vinaigrette.
Évidemment, si tu as déjà une salade taboulé, de l’houmous, des feuilles de laitue, un petit morceau de concombre, un bout de carotte que tu peux râpé puis un œuf cuit dur… tu mets tout dans ton bol favori et voilà! tu as un super buddha Bowl! Simple, efficace et surtout agréable à manger par temps chaud.
Si tu n’as pas d’idée, regarde ici mes recettes.
2. Salades repas
Comme les buddha Bowl, les salades repas sont parfaites pour nous rafraîchir. En plus, elles sont faciles à créer puisqu’on peut y mettre ce que l’on a envie ou ce que l’on a dans son garde-manger et frigo.
Pour appeler ça une salade, il faut avoir des légumes crus ou cuits, une protéine et une vinaigrette ou une sauce froide. Puis, tu mélange tout ensemble!
Encore une fois, utilises les restes de légumes et de protéines de l’autre jour. Cela facilite sa création!
Si tu n’as pas d’idée, voici mes idées recettes.
3. Soupes froides
Lorsqu’il fait trop chaud, notre appétit n’est pas très grand et puis on recherche à se rafraîchir. Rien de tel qu’un potage ou une soupe froide comme repas léger ou comme entrée.
Je trouve que celle-ci doit être préparée d’avance afin de bien refroidir. Pour qu’elle reste bien froide au moment de la boire, on peut déposer le bol sur un lit de glaçons.
Il te faut un blender ou un blender immersif, des ingrédients contenant de l’eau et qui donne une impression de fraîcheur comme le concombre et la menthe. Parfois, quelques glaçons ou de l’eau froide.
Voici des recettes de soupes froides et crues
4. Poké Bowl
Tout comme le Buddha Bowl, le Poké Bowl est un repas froid parfait par temps chaud. Celui-ci est généralement composé de riz et de poisson cru. On y ajoute des légumes et/ou des légumineuses, des pousses de soja, des edamames et une sauce à base de soja pour lui donner un goût hawaïen ou japonais.
Mais attention! Le poisson cru par temps chaud ne doit pas rester hors du frigo très longtemps!
5. Pâtes froides
Évidemment, il faut pouvoir cuire les pâtes et ça, par temps chaud, ce n’est pas évident. Peut-être les cuire en soirée lorsqu’il fait moins chaud ou mettre la marmite sur le BBQ. Si tu as une plaque électrique portable, sort la dehors et cuit des pâtes en grosse quantité. Tu auras ainsi quelques repas possible puisque les pâtes froides sont délicieuses en salade mais aussi dans les Buddha Bowl ou la soupe.
Ajoute leur des légumes, une protéine et une sauce puis tu as un excellent repas. Mes enfants adorent les farfales au poulet effiloché avec tomates cerises, olives, cœurs d’artichauts, mozzarella et une sauce crémeuse type César.
6. Tartare
Que ce soit un tartare de viandes, de poissons, de mollusques (huîtres, st jaques, bigorneaux), de légumes (betteraves, fenouil), de légumineuses (lentilles), de fruits ou d’algues, le plus intéressant, c’est que c’est sans cuisson!
Tu l’accompagnes d’une sauce ou d’une huile… d’une salade, de croûtons, de pain.
Attention! Les protéines crues ne doivent pas rester hors frigo trop longtemps.
Par ici pour une recette aux crevettes grises de la mer du nord
7. Ceviche
Le Ceviche est un tartare cuit à l’acide d’une agrume. Ce peut être un poisson, un mollusque ou un légume. Il peut être cuit au citron, à la lime, à l’orange ou même au pamplemousse. Accompagné d’une salade, d’un chips ou un pain c’est trop bon!
J’aime beaucoup le Ceviche de cabillaud et de saumon dans la lime. J’y ajoute des oignons, des piments piquants et des herbes fraîches comme la coriandre. Je le mange avec des tortilla chips. C’est délicieux!


 Since the covid19 and the different confinements, I have discovered a new hobby; walking. Either a leisurely walk or a brisk walk, I sometimes make it a simple one, sometimes a hiking one and sometimes a sporting one.
 To walk mindfully or consciously is to walk while being aware of what is happening around and in us. Without thinking. It is to pay attention or to be attentive. It is to be there, present. It is to forget oneself.
 See the road or path we take.
 Hear the noises and sounds that surround us
 Smell the odors of food, sea, flowers, herbs, grass, dearth, cold, the perfumes of people you cross path with.


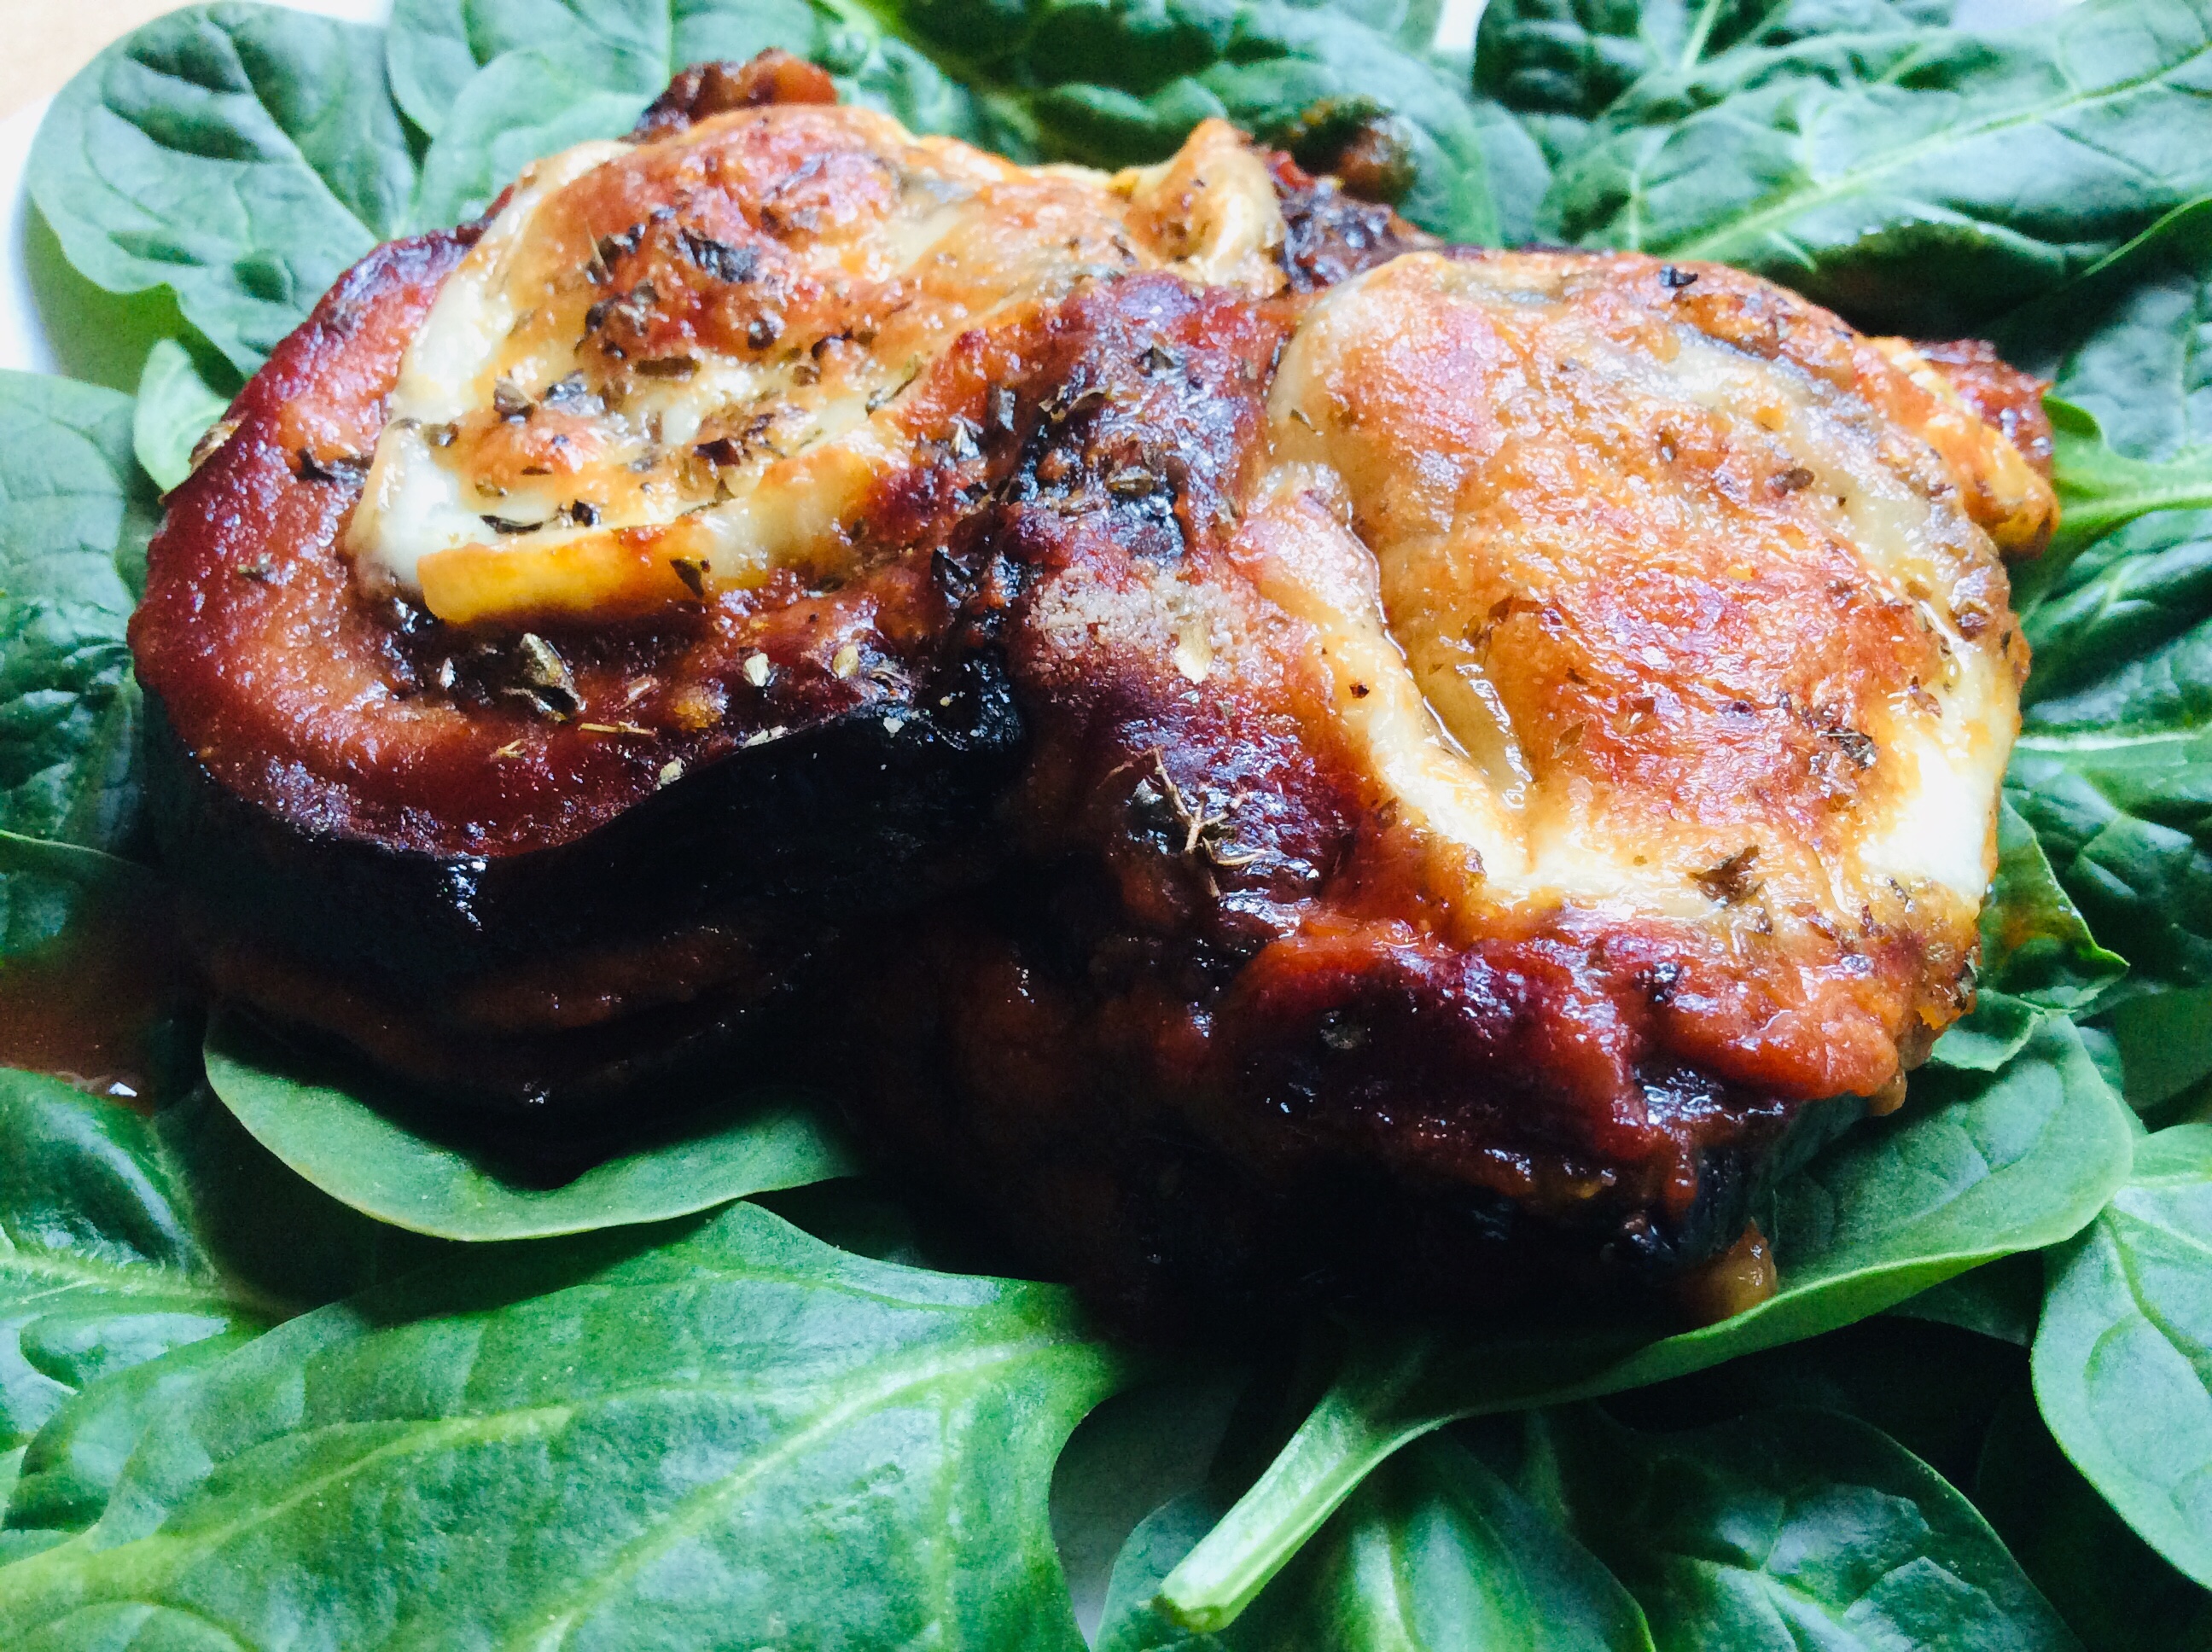
 Grill the eggplant slices either in a cast iron pan or in the oven. To do so, brush each side of each slice with extra virgin olive oil. Place on the hot cast iron pan and turn half a turn to make a nice grid on each side. Or, put on a baking sheet and broil in the oven. Turn as needed. Let stand and cool. Reserve.


 For 2 to 8 people, you need …

 I start by preparing an advent calendar with recycled stuff. Indeed, you do not need to buy anything (practical in times of confinement!) to make a calendar worthy of the name! Yes, you will use what you have at home. Some ideas with which you can make some; cardboard of toilet paper rolls, envelopes, cardboard boxes, paper, egg carton … in short, nothing complicated but above all, something that will allow you to insert little notes, coupons and small items.
 If you are using toilet paper rolls, you can arrange them in the shape of a tree, glue them together, fill them and then seal them with numbered paper. If you are using envelopes, it is a matter of numbering them, filling them, sealing them and then hanging them on a pretty thread / ribbon. If you only have white paper, you take two of them and on each you separate by drawing 24 boxes.
  On the sheet below, you write the surprises in each box. On the top sheet, you write down the numbers and you pre-cut each box slightly. You glue the edges of the papers together and voila. Do not hesitate to add pretty designs, color to make it “festive”.


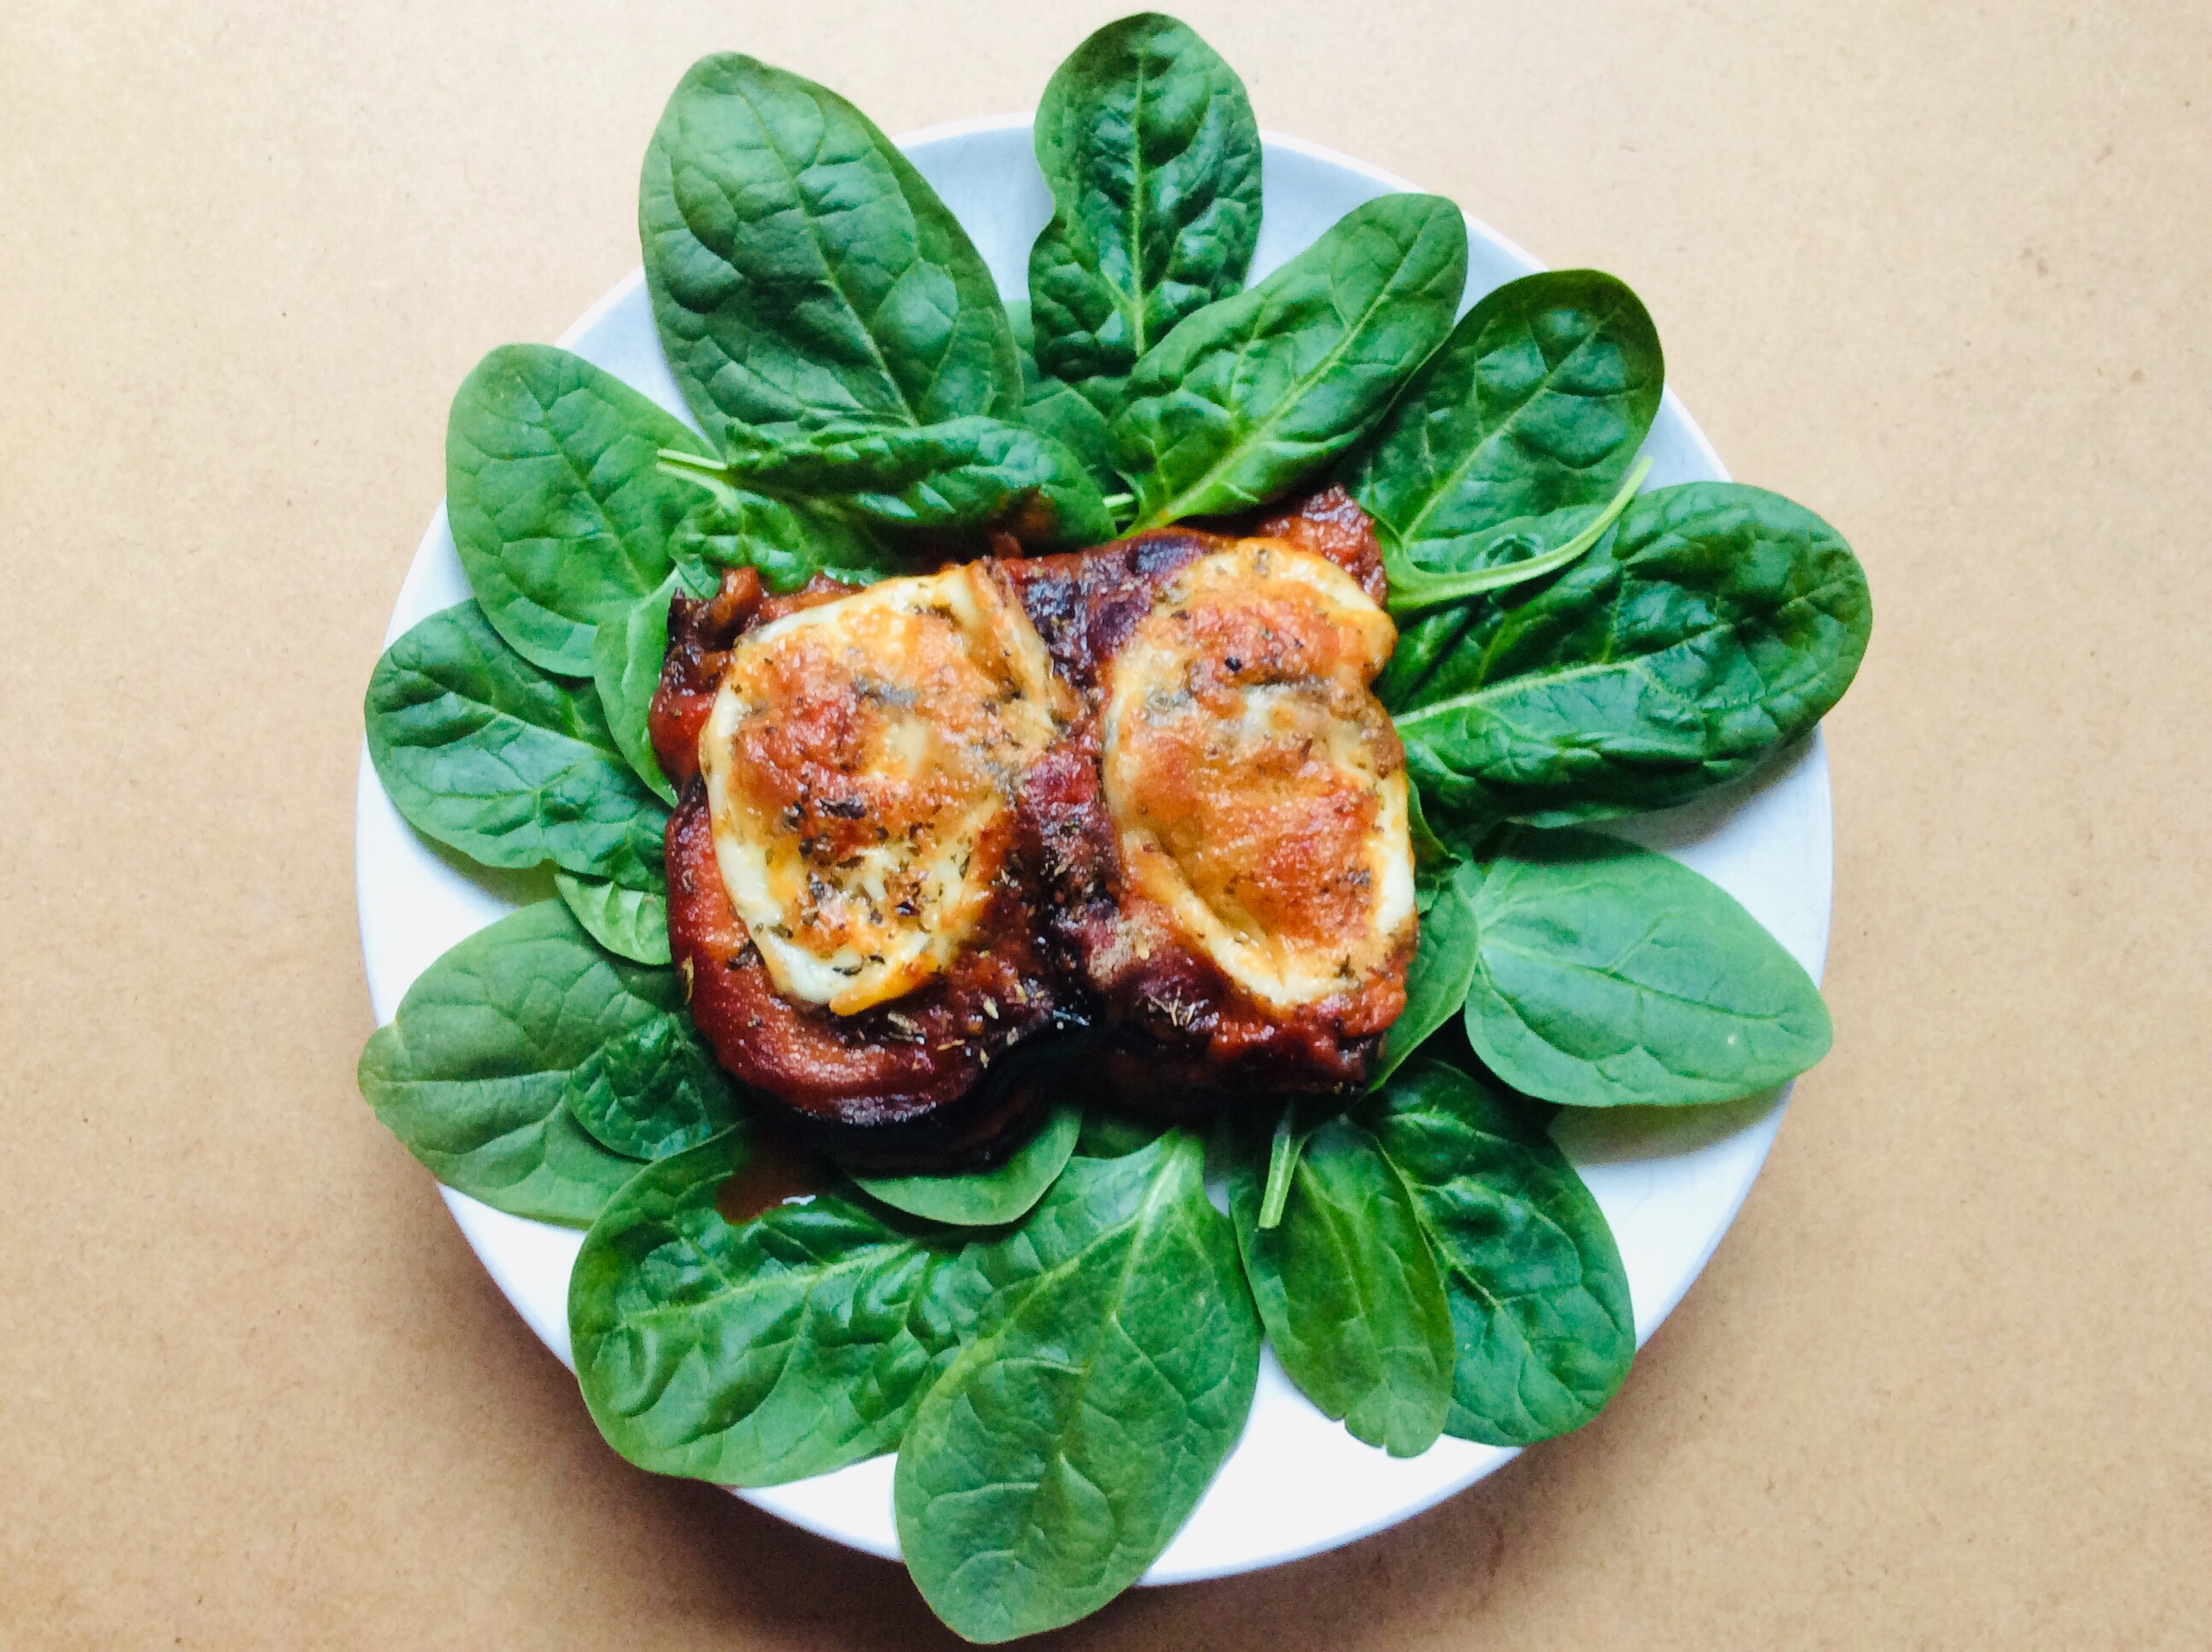
 Place the onion strips, garlic cloves, tomato wedges and rosemary sprigs on a baking sheet. Oil generously, add the umami mix or season with salt and pepper. Mix to coat all ingredients with oil. Bake 30 min.
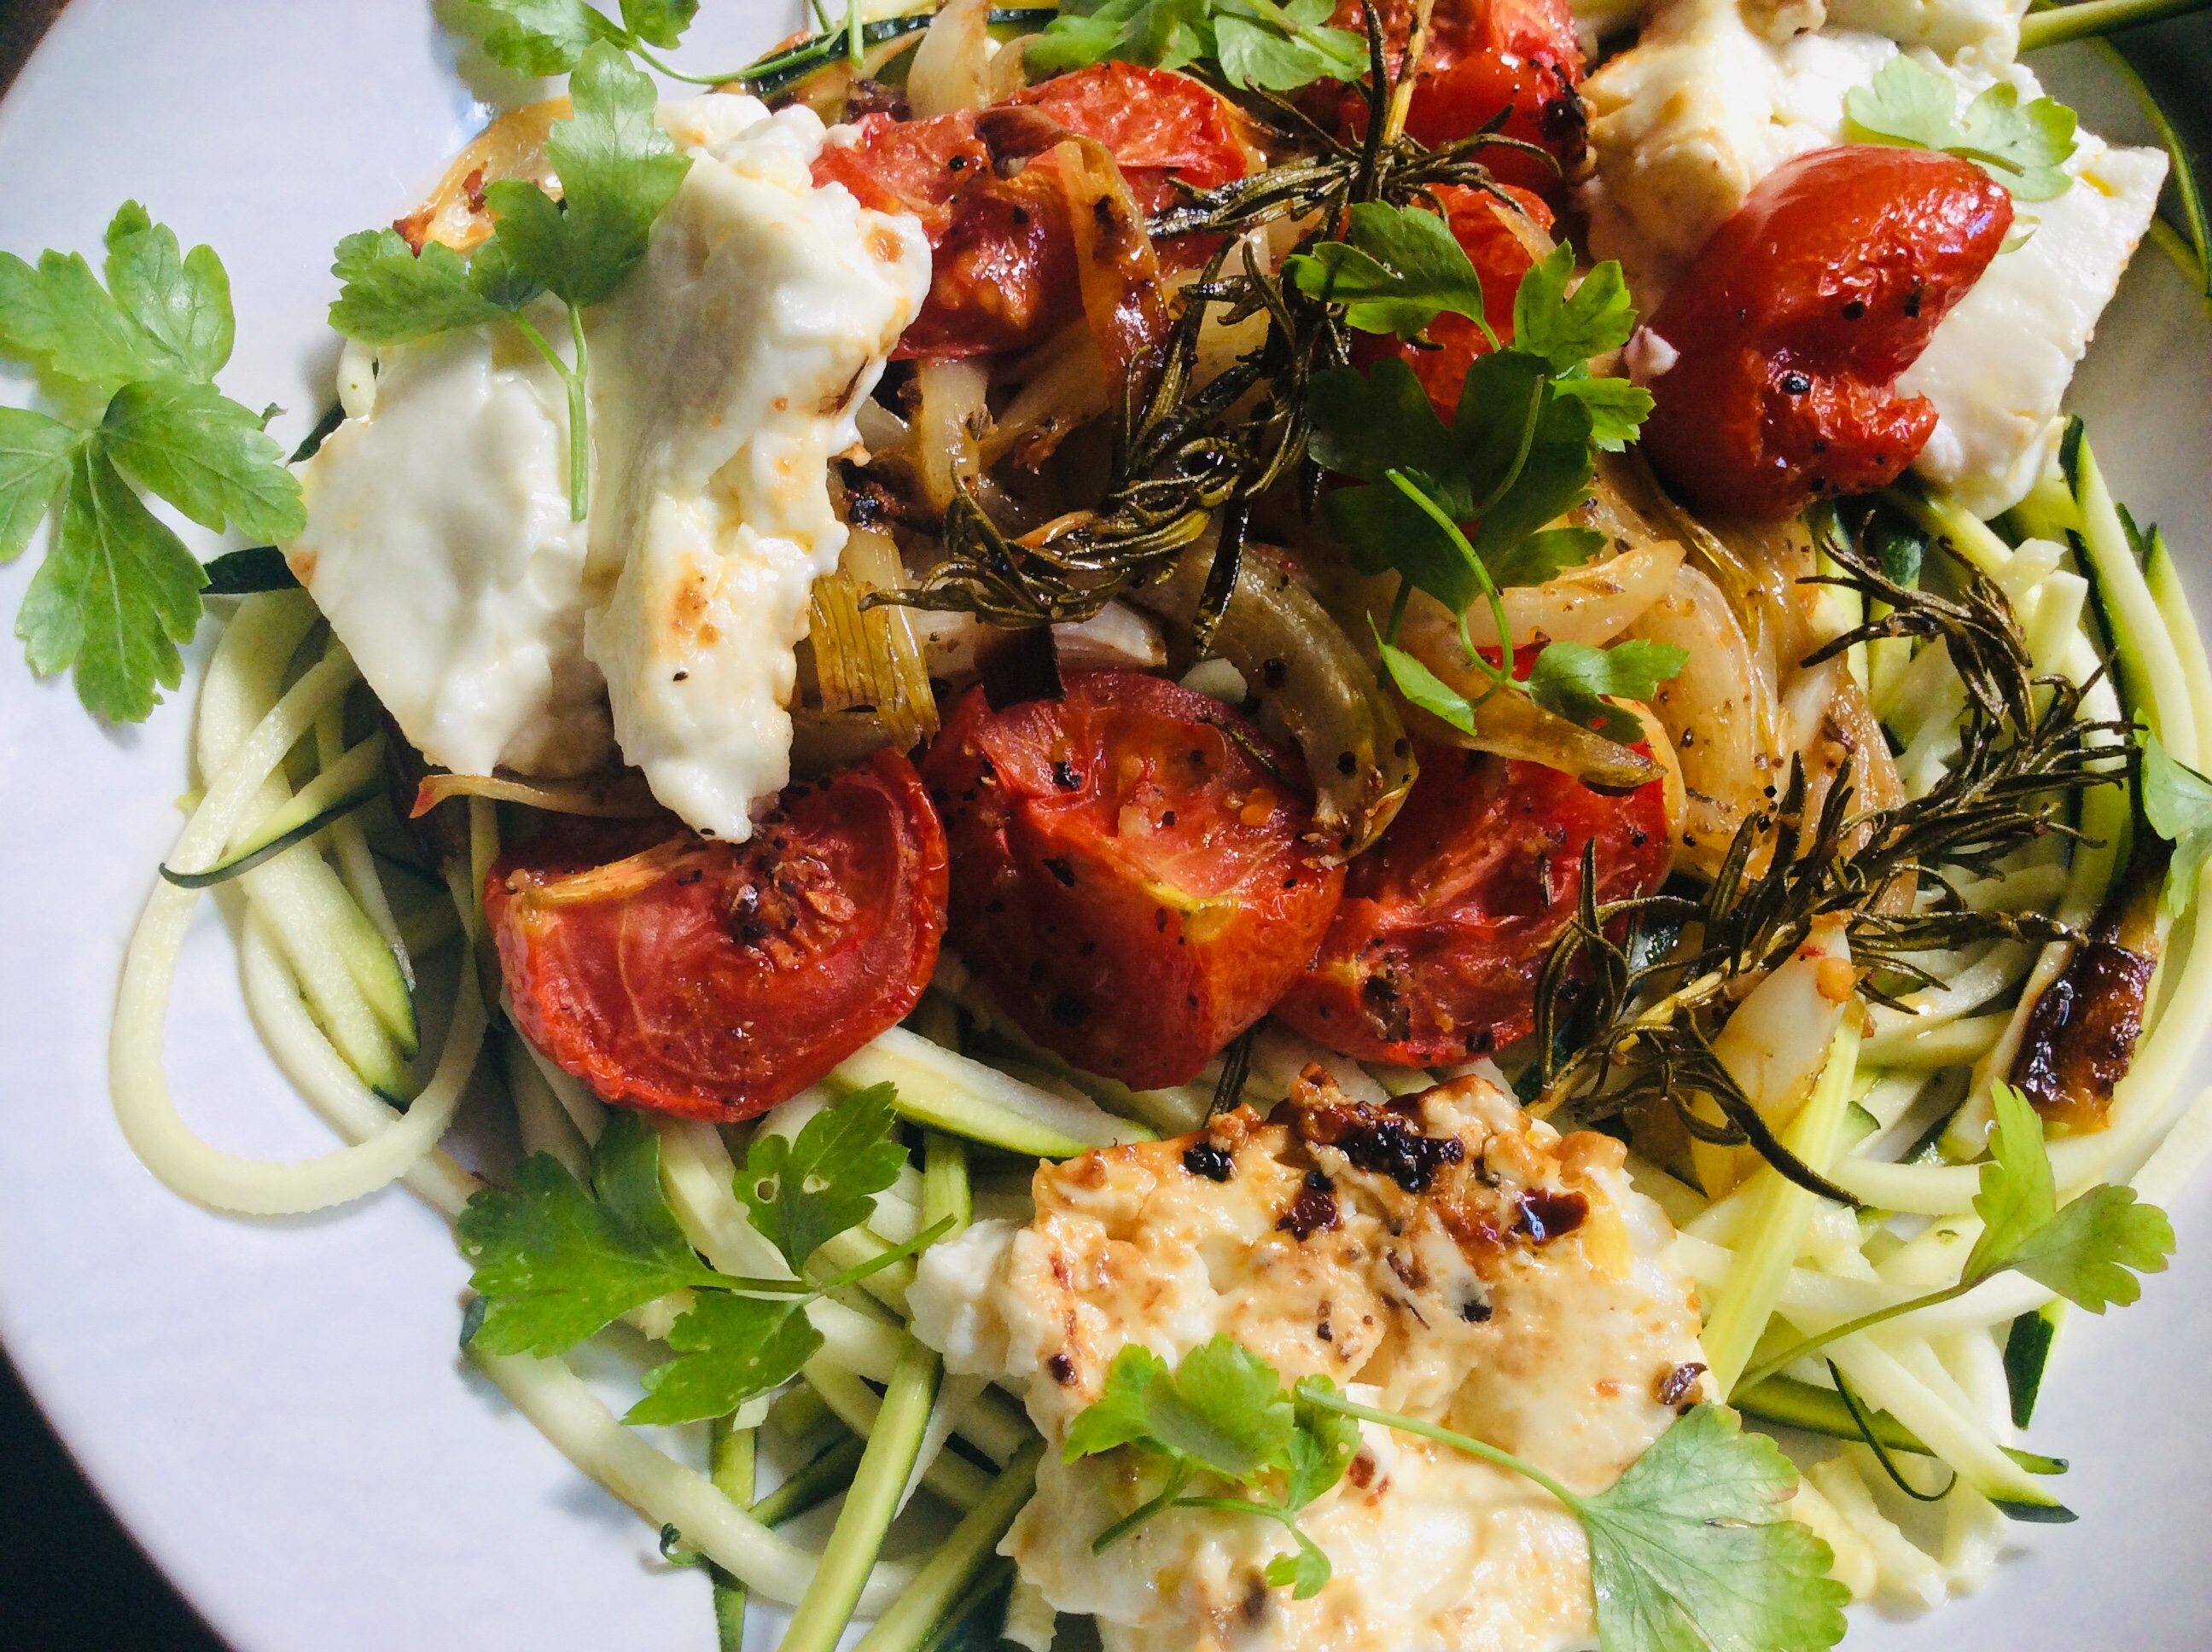 Sur un lit de zoodles (spaghetti de courgettes) j’ajoute un confit de tomates, oignons et ail ainsi que du fromage Feta grillé. Voilà un petit repas facile qui se mange chaud ou tiède et qui est sans gluten et végétarien.


 I asked advice from a friend who has a beautiful garden and a large vegetable patch. In addition to her tips, her references in terms of the vegetable patch, she gave me vegetables seedlings, herbs and flowers to plant in my little space!
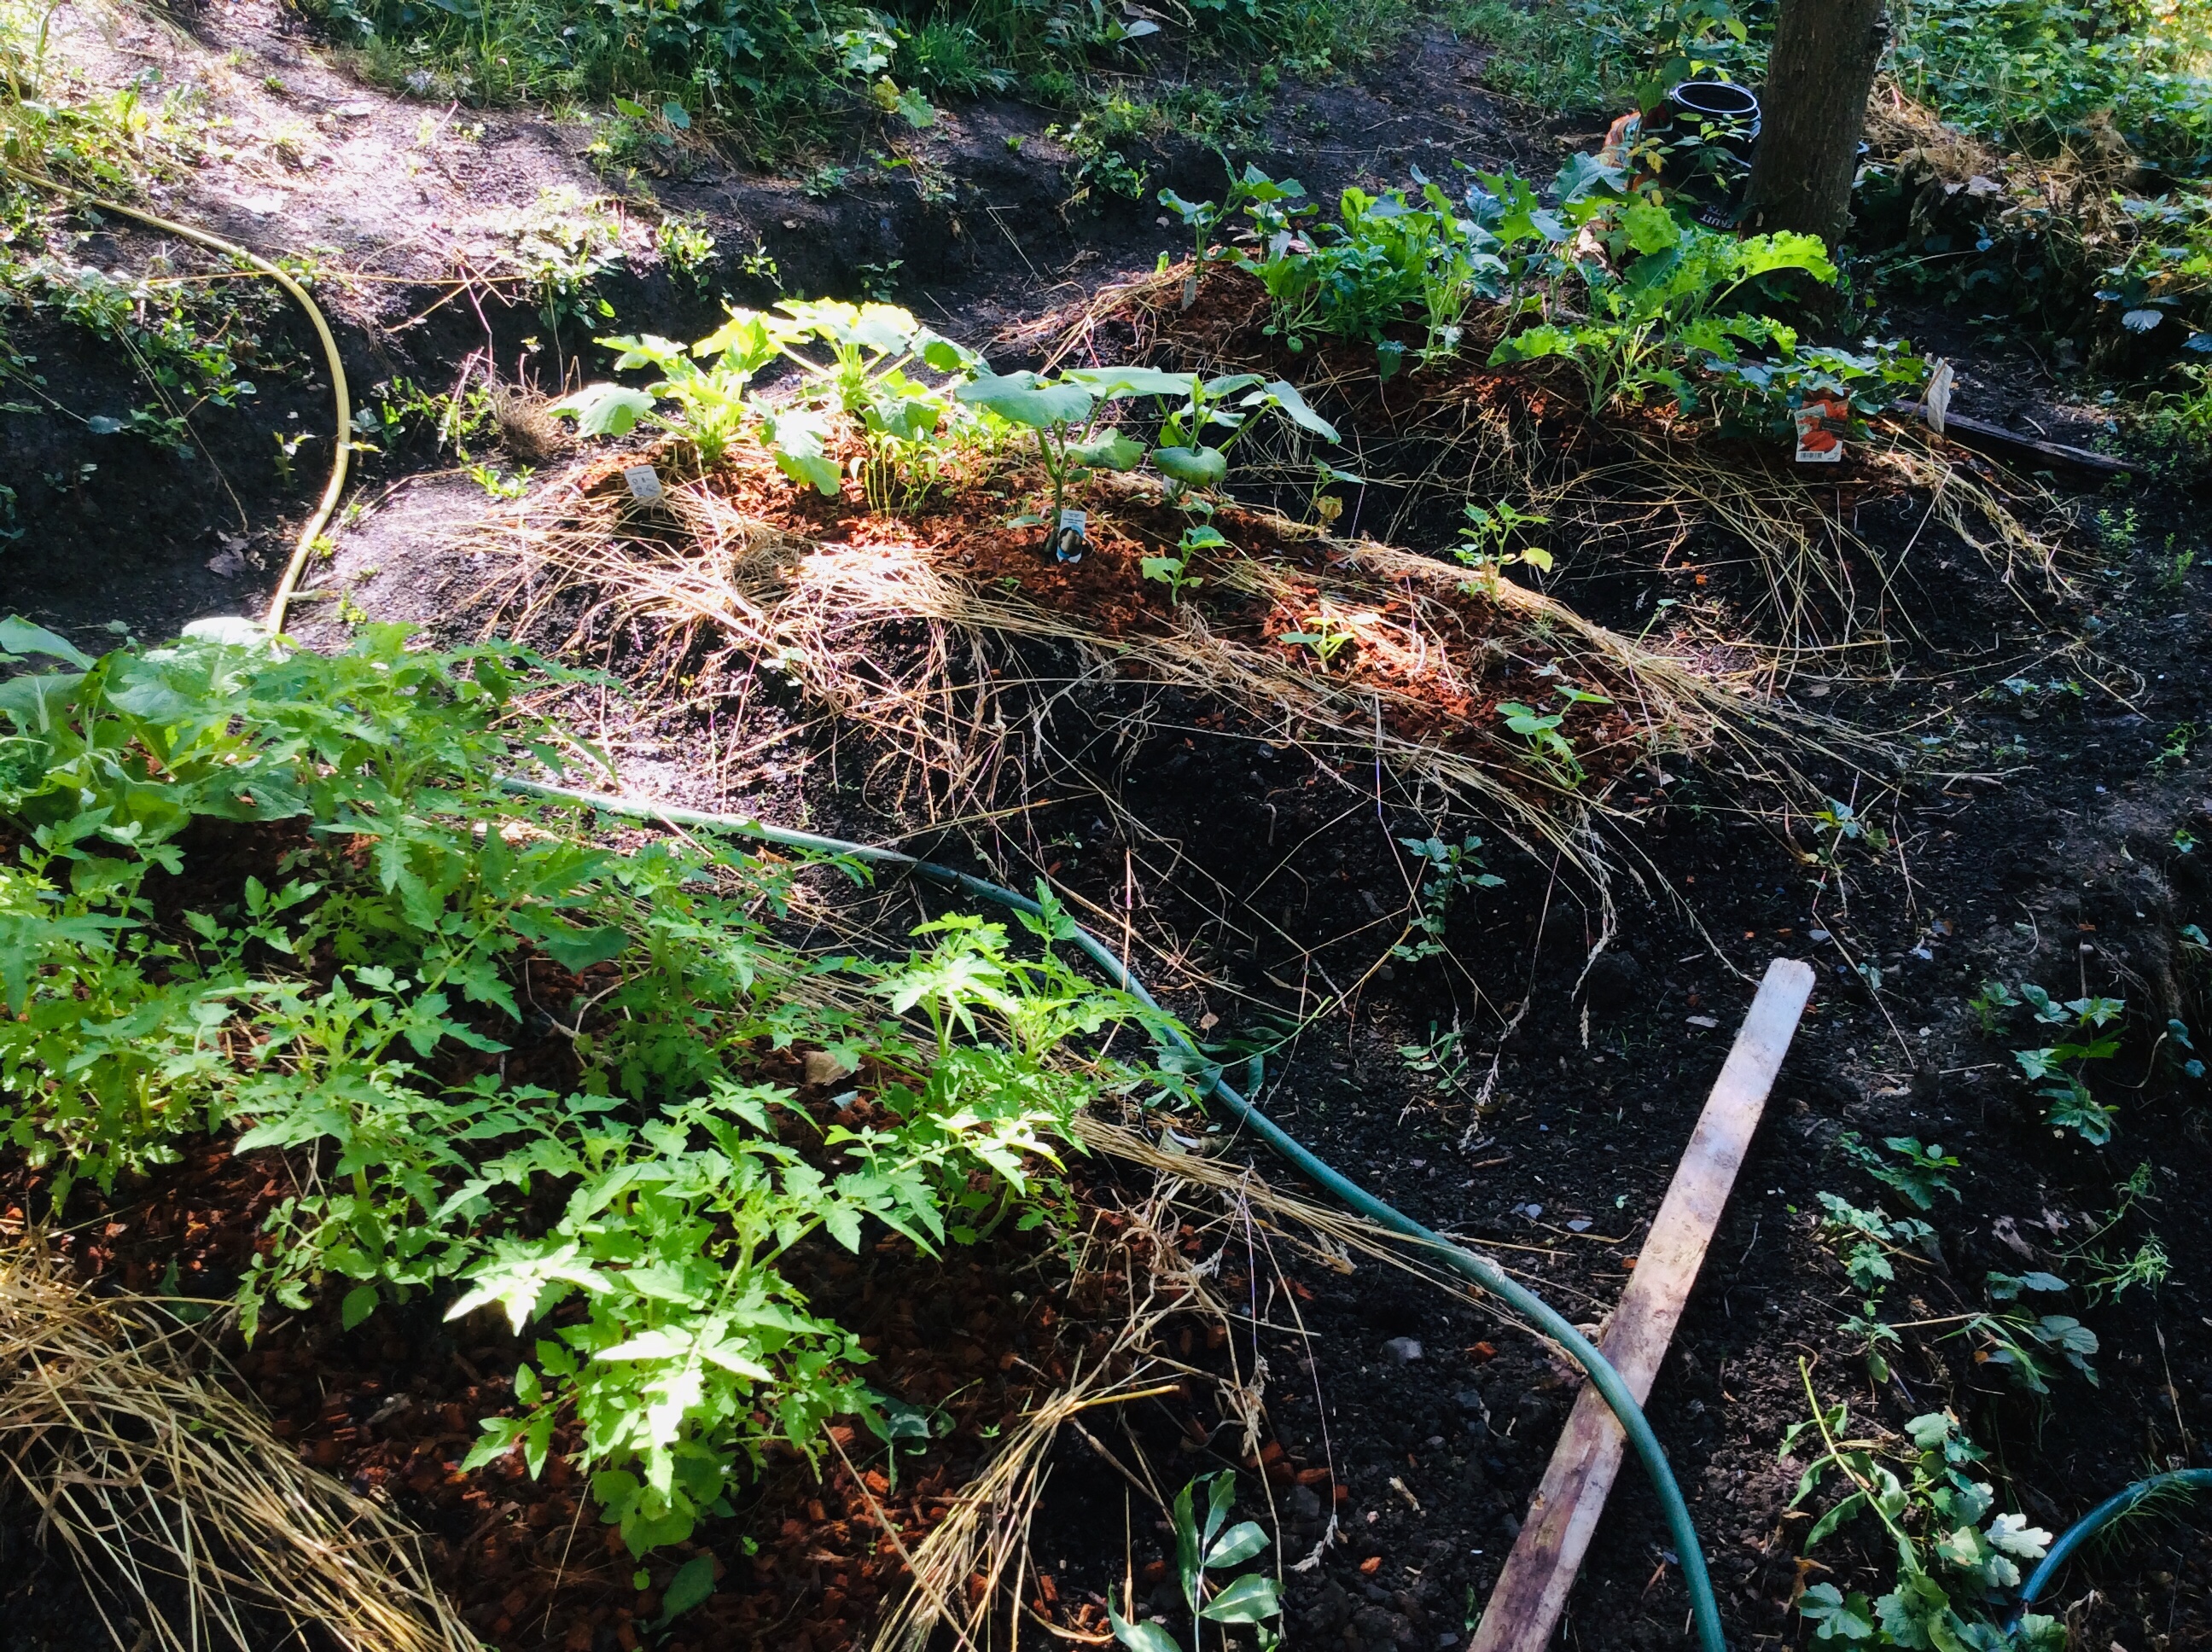


 Fresh herbs: Punch of flavors
 Bok choy or other green leaves
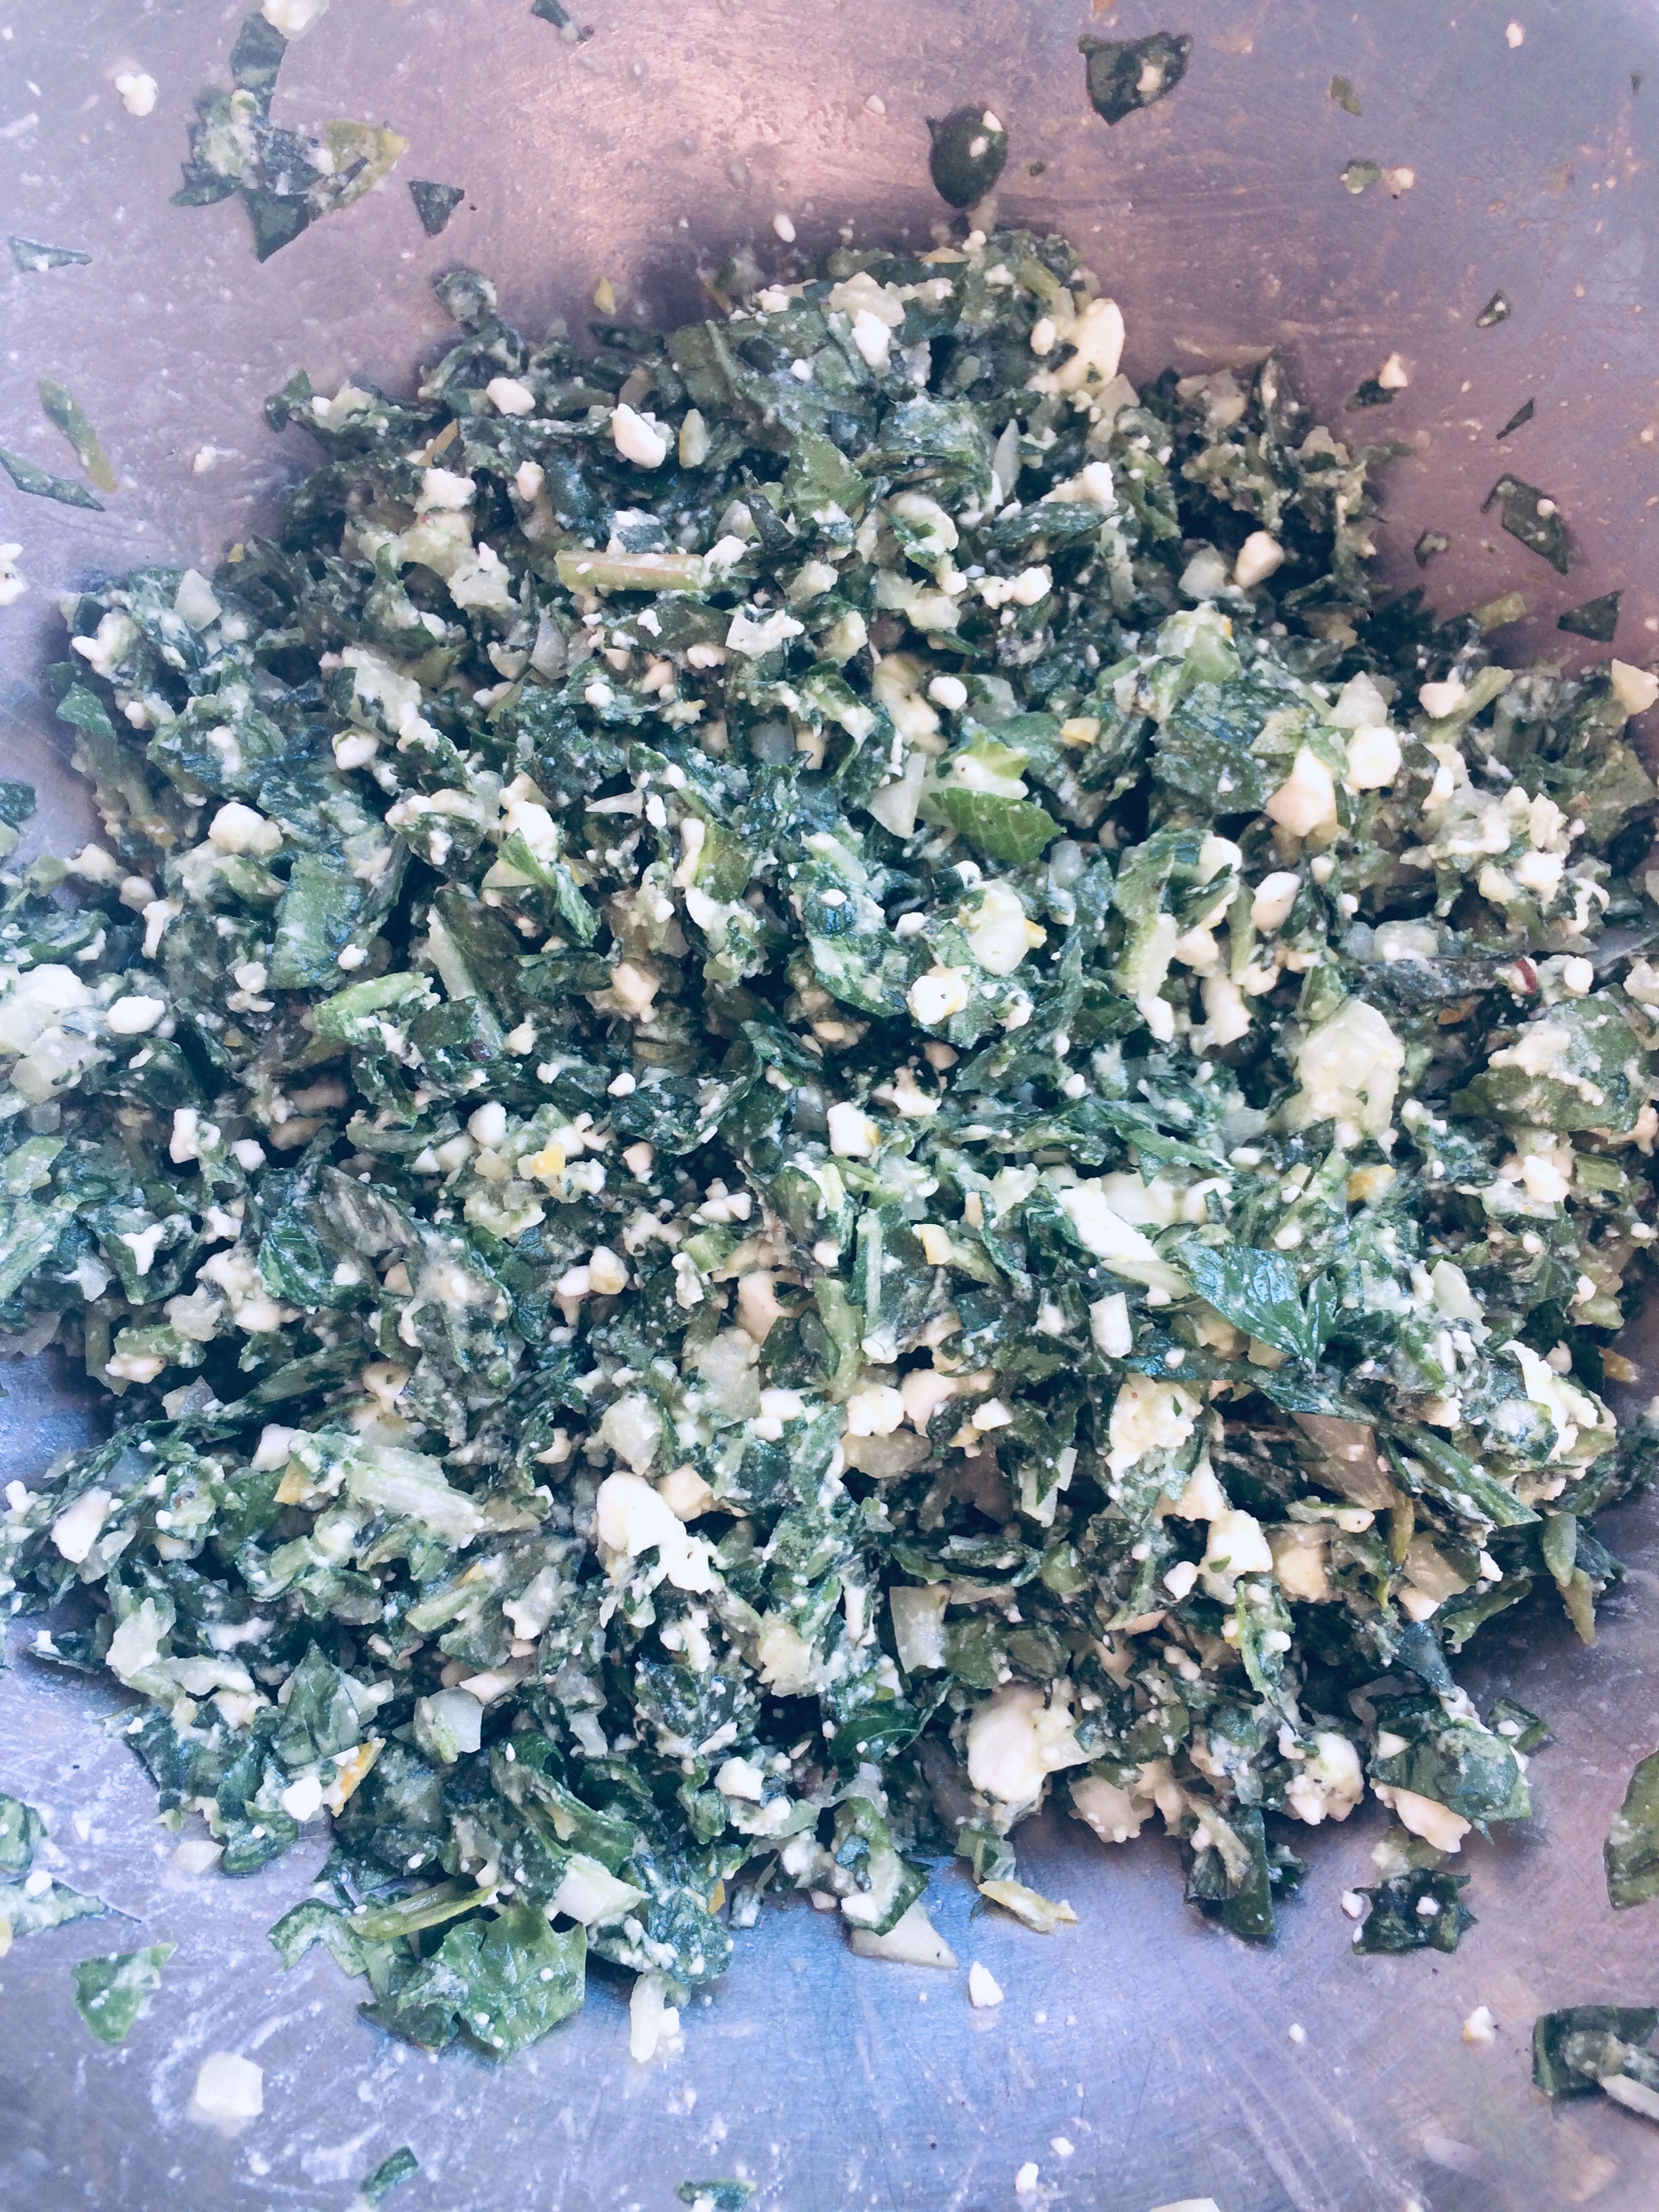 Wash and wring the leaves. Separate the white section from the leaves of the Bok Choy. Keep only the leaves. Finely chop them. Do the same with the radish tops, parsley and mint. Put all of these leaves in a large mixing bowl.
 Line 3 sheets on the work surface. Lightly butter these with a brush, then put the others on top as a second and last layer.
 Repeat steps 10 to 13 until the baking sheet is filled. Add a small butter brush stroke to each roll and bake for about 15 min or until they are golden.
 Laver et essorer les feuilles. Séparer le tronçon blanc des feuilles du Bok Choy. Garder que les feuilles. Les hacher finement. Faire pareil avec les fanes de radis, le persil et la menthe. Mettre toutes ces feuilles dans un grand bol à mélanger.
 Couper les feuilles filo en 3 sur la longueur. Conserver 6 feuilles et laisser les autres dans un torchon humide pour ne pas qu’elles sèchent et se déchirent. Tu travailles 3 ou 6 rouleaux à la fois selon ton choix de grosseur.


 Zero waste in the kitchen
 Zéro déchet en cuisine


 And what to do with emptied orange peels and its pulp? Frosted Oranges Sorbet! If you know the commercial “creamsicle”, well, this is its French version and it tastes way better! Plus, it’s rich in fiber!
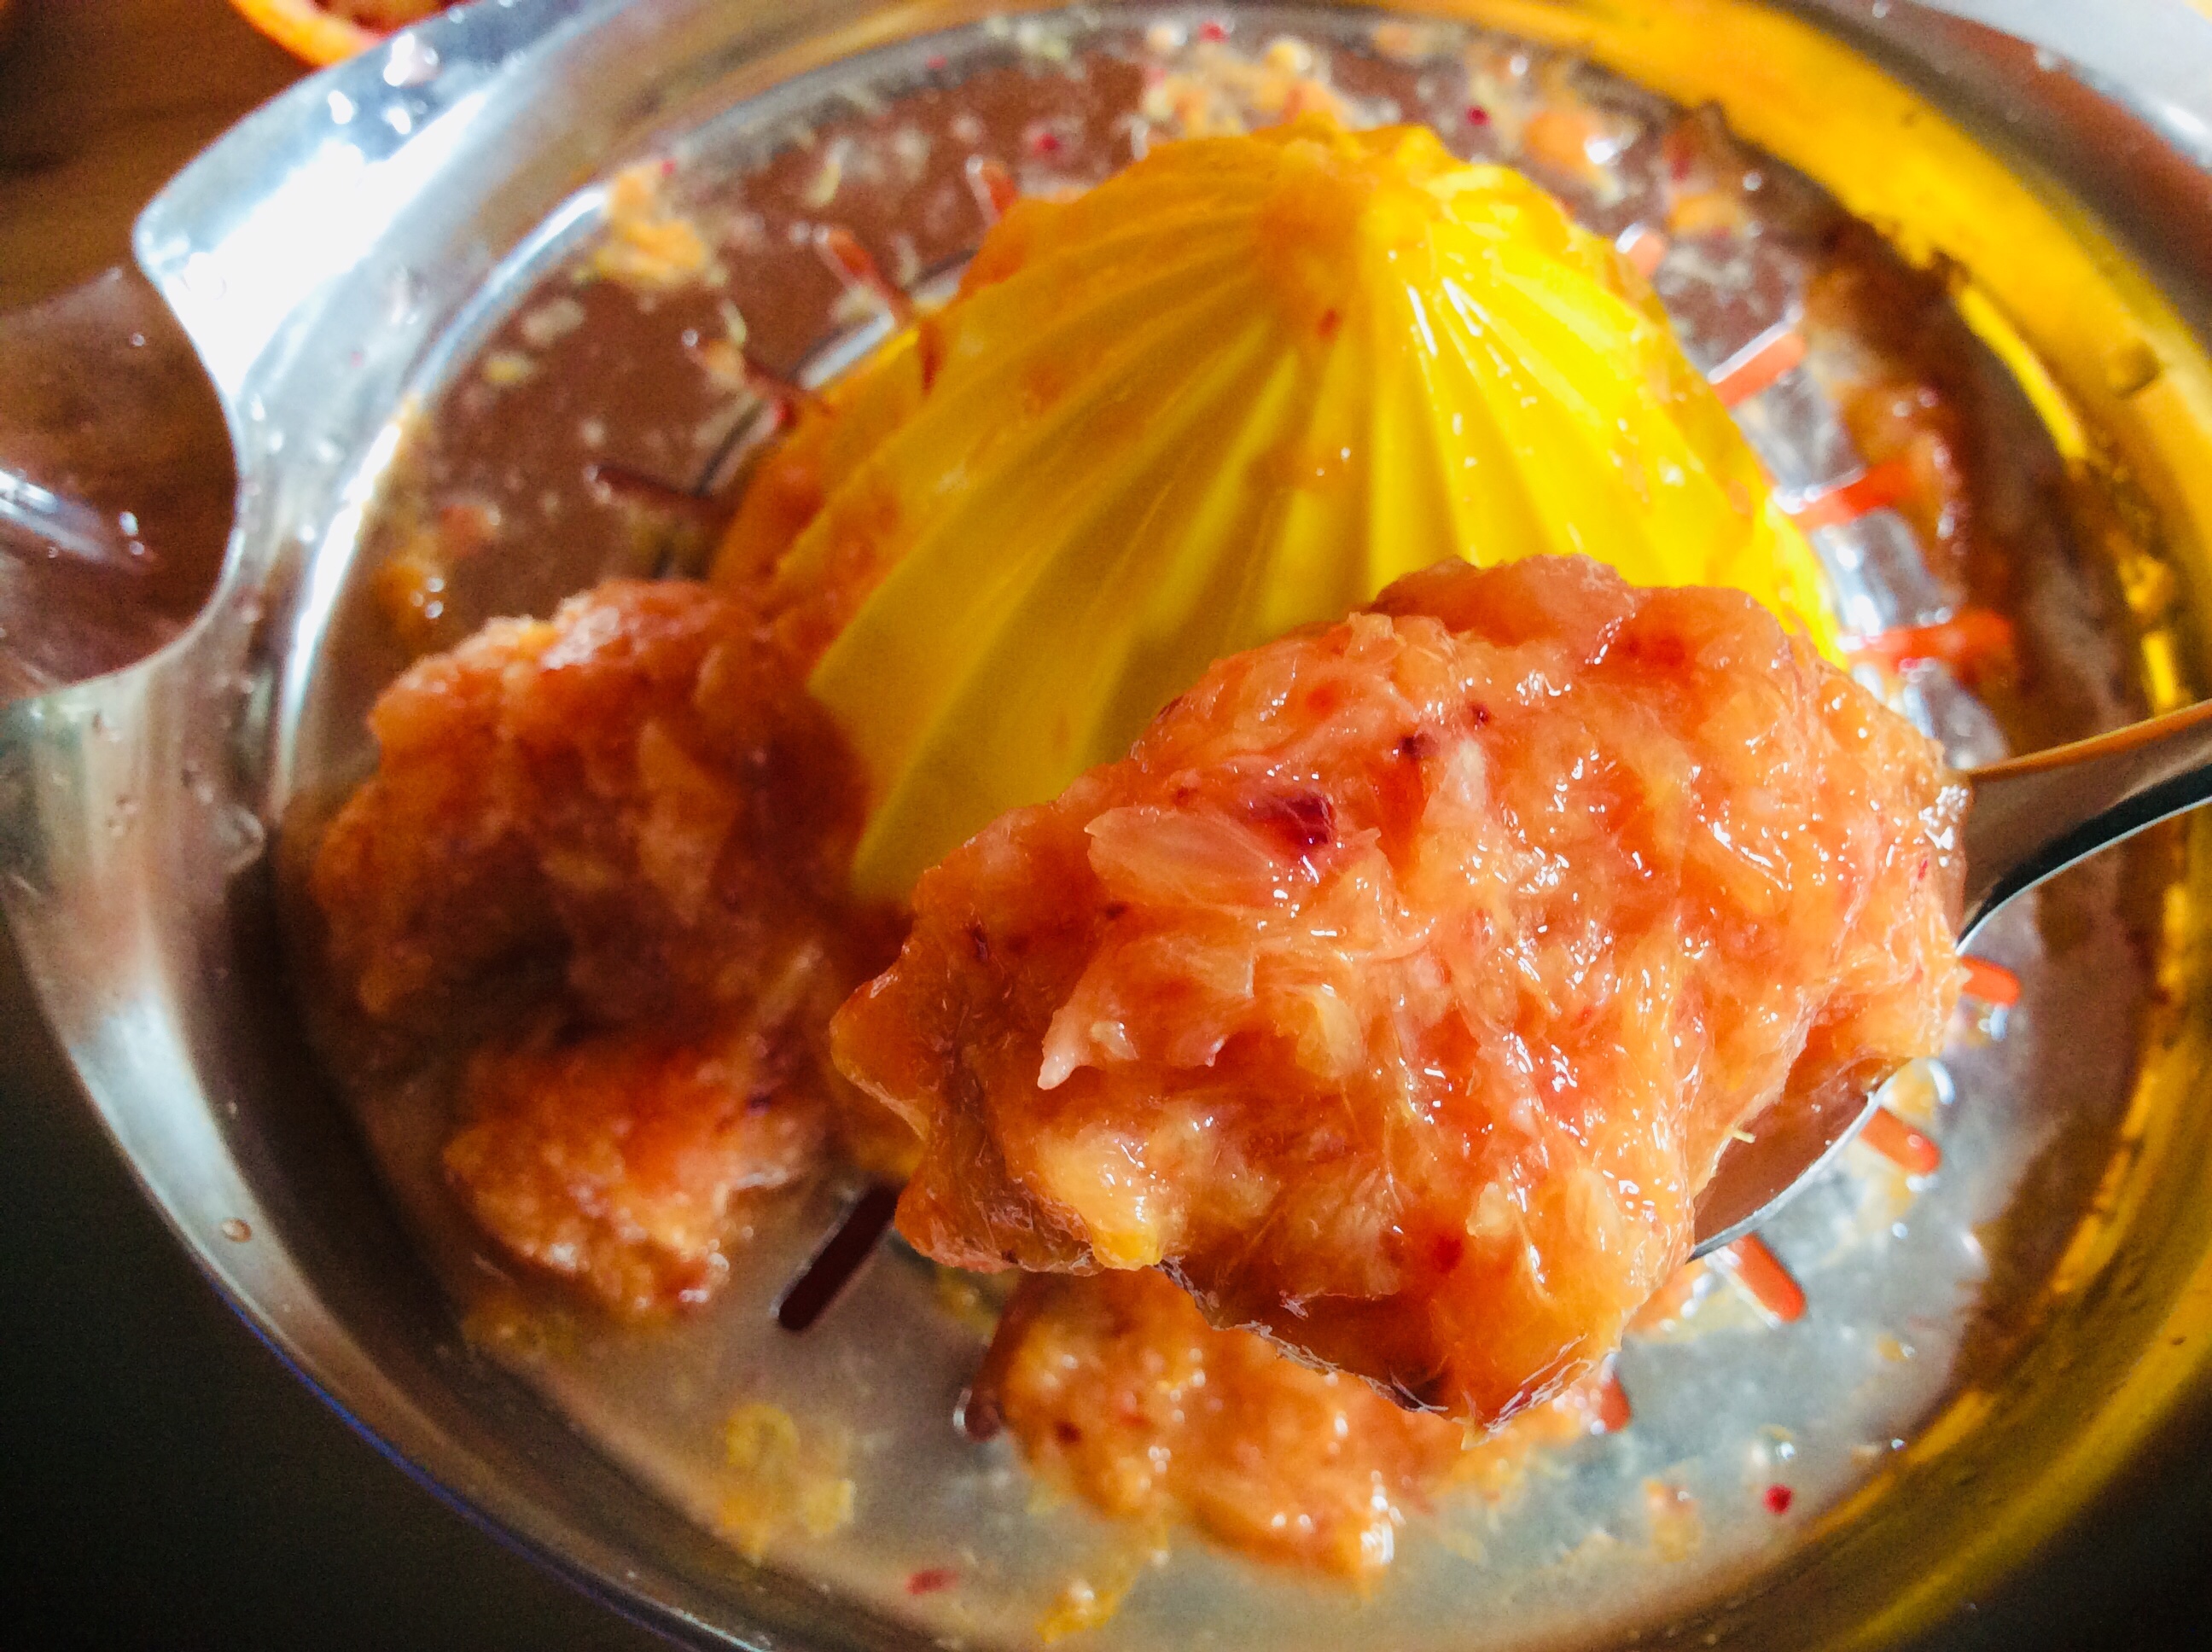


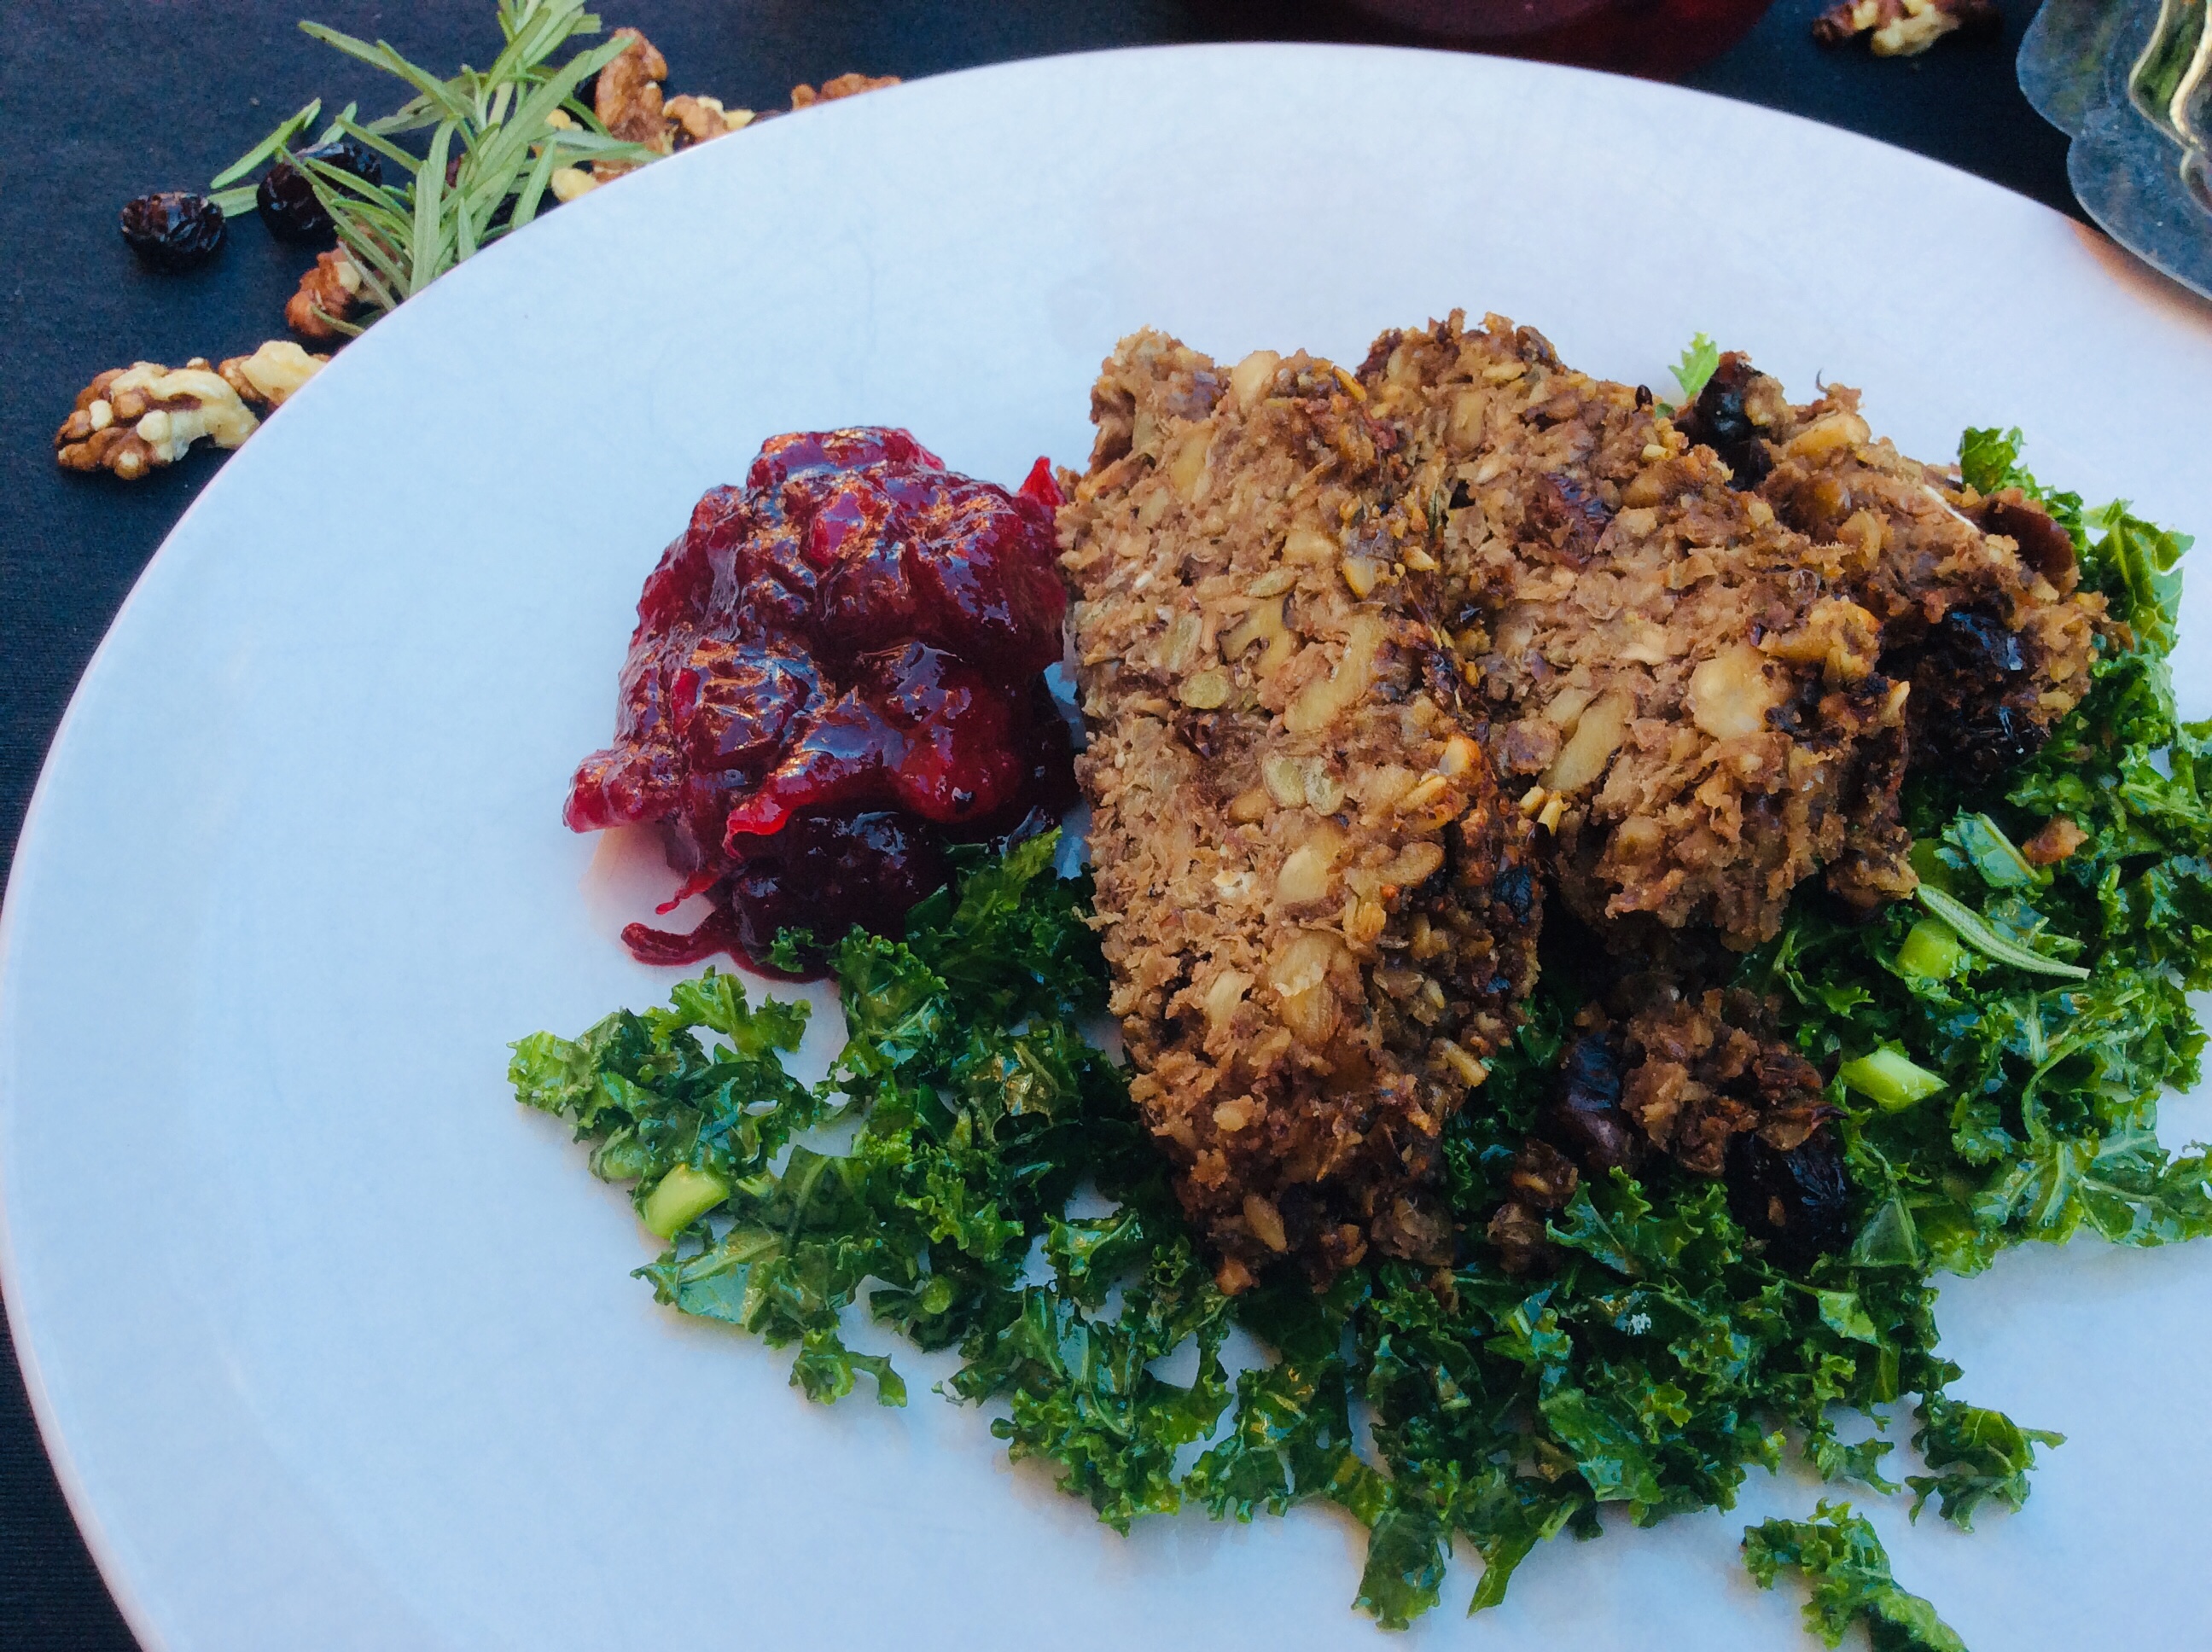
 Cook the freekeh according to the directions on the package. Let cool and store in the refrigerator until needed.